Dream Kitchen - Project Breakdown

Introduction
Hello everyone! I’m Amanda Melville & I’m a 3D Environment Artist! I primarily focus on stylized art and I absolutely adore taking the time to have a scene be driven from a story narrative. I wanted to take the time and discuss a bit of my process throughout this project and talk about what I’ve learned!
I’ll be touching base on quite a bit, and this is just the knowledge I’ve gathered throughout my short time in the game dev world. So please be mindful that there is no correct way of doing one thing and everyone learns their own process/what works best for them!
I hope you all are able to utilize and go through the resources and information I have included down below. Thank you for your time coming along the journey with me and let’s get into it!

Content:
Planning / Goals
Blocking out
Unreal - Already???
High Poly - Zbrush Time!
High Poly Models
Trimsheet
Foliage
Refinement / Prep
Baking & Texture
Substance Designer
UE4 - Building the Scene
Make your own skybox!
Decals
Particles
DEPTH FADE!
Vertex Painting
Naming Conventions / Organization
UE4 - Lighting
UE4 - Rendering & Post Process
Thoughts & Conclusion
I just want to mention that I will be briefly going over the process I did for this project and that this article will be general over quite a few different workflows.
Planning / Goals
First thing is deciding what focus I want for this project. Looking back on all that I’ve learned the last couple of years and what I felt could be showcased more in my portfolio was a huge factor to consider for this project.
With that in mind I knew I wanted to focus on:
colors
filling out a scene
and lighting in unreal
This gave me at least a base to start off of before I go scrolling through the internet. I find that having at least this in mind makes it much easier to have when deciding what to create. Otherwise without some type of prompt or outline I usually find that I get stuck even picking concepts / references.
From here I usually make a Miro board for my projects. This is a great way of keeping everything organized, a way to have others give you real time feedback, and just a nice mood board to use on any browser. I typically use a template or make my own and create a timeline, the steps I have to take to move forward, and just anything I think would help me out for staying motivated and keeping myself accountable.

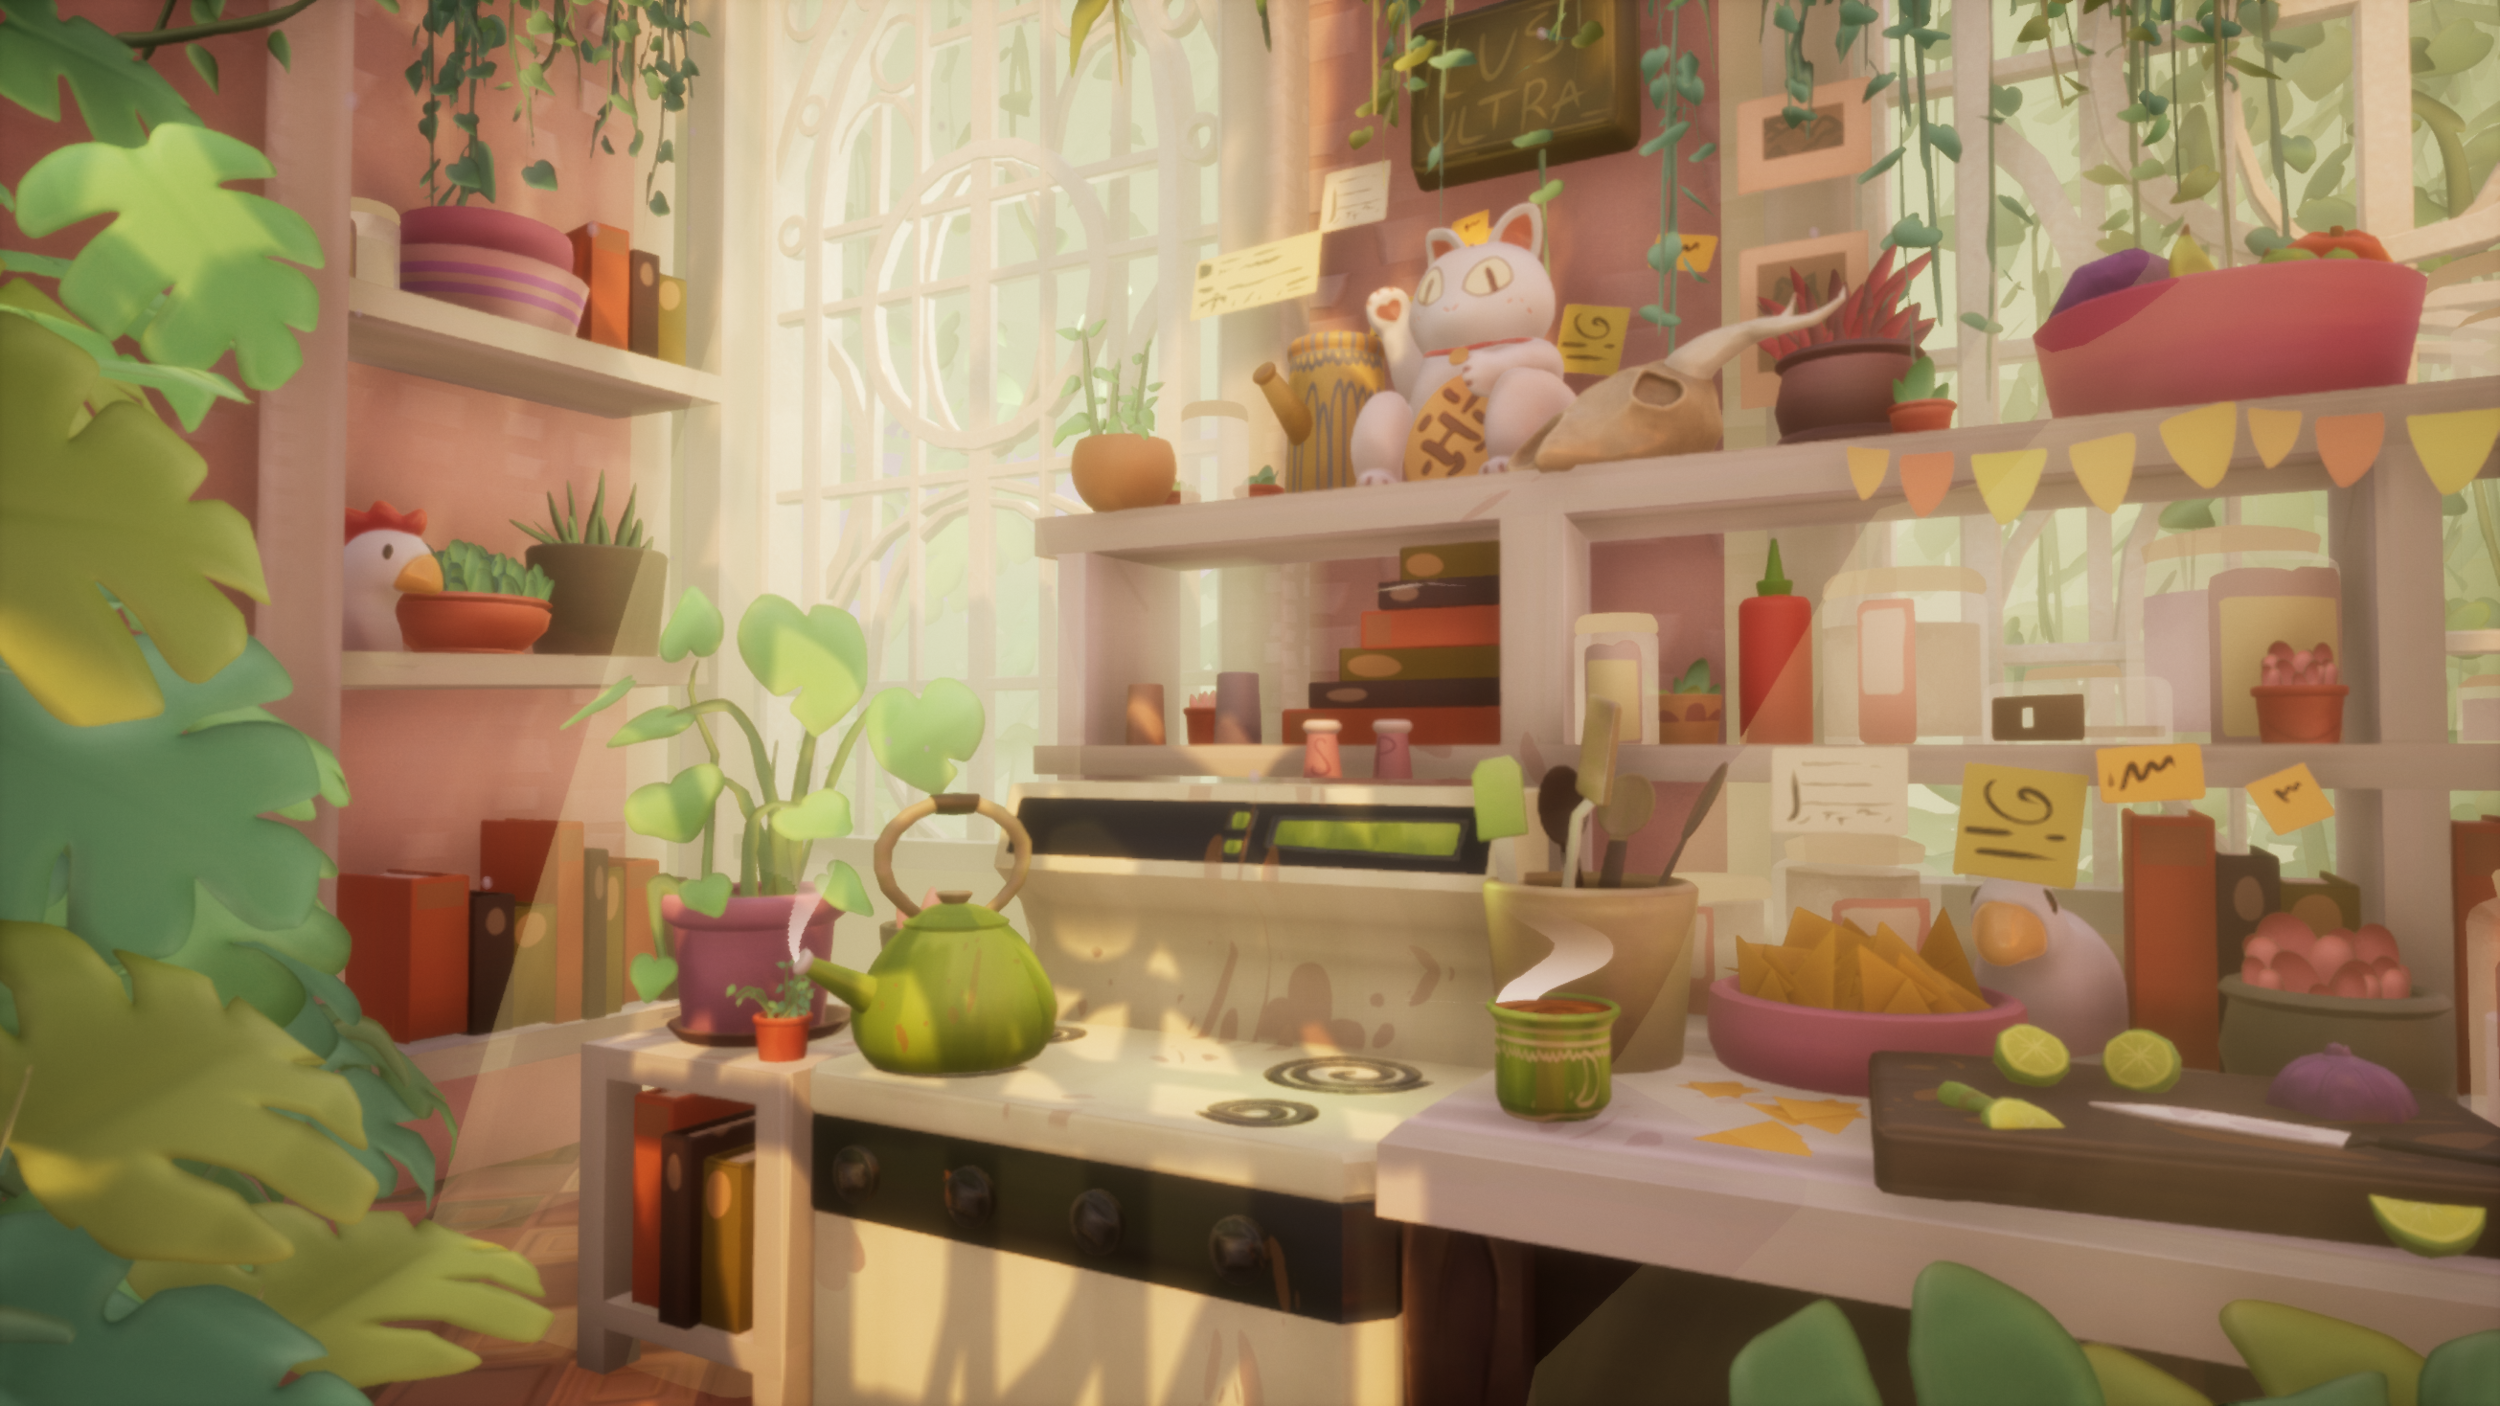
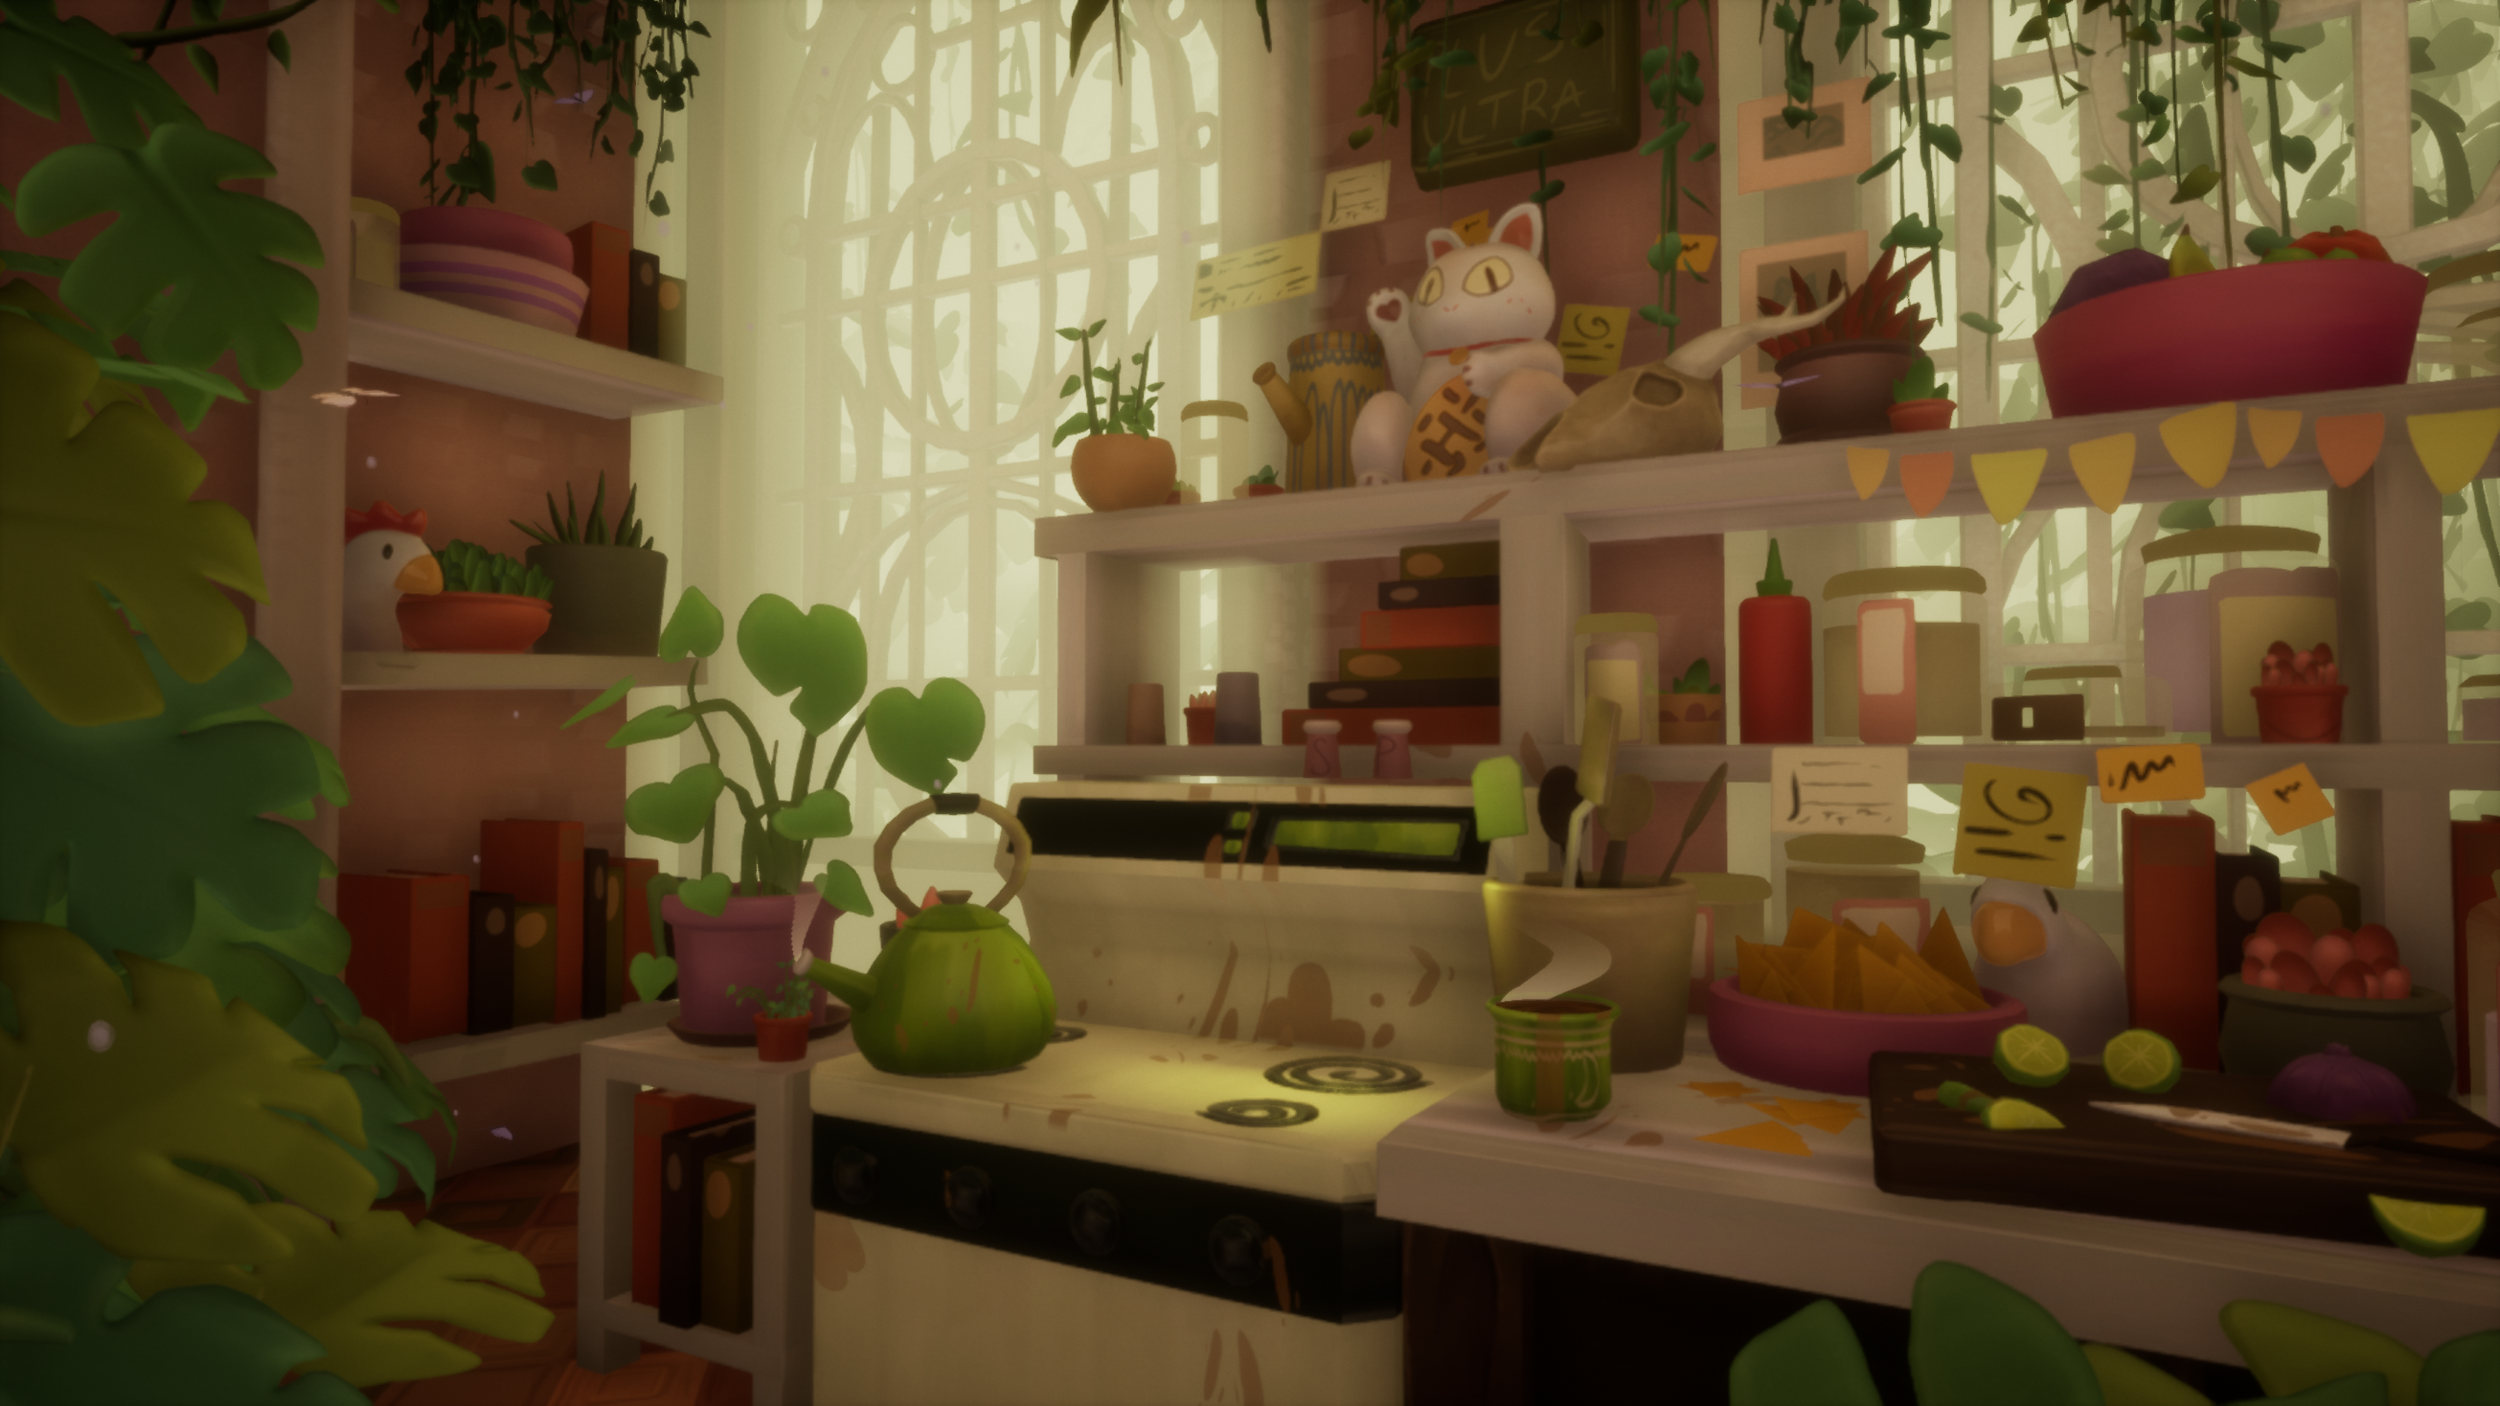
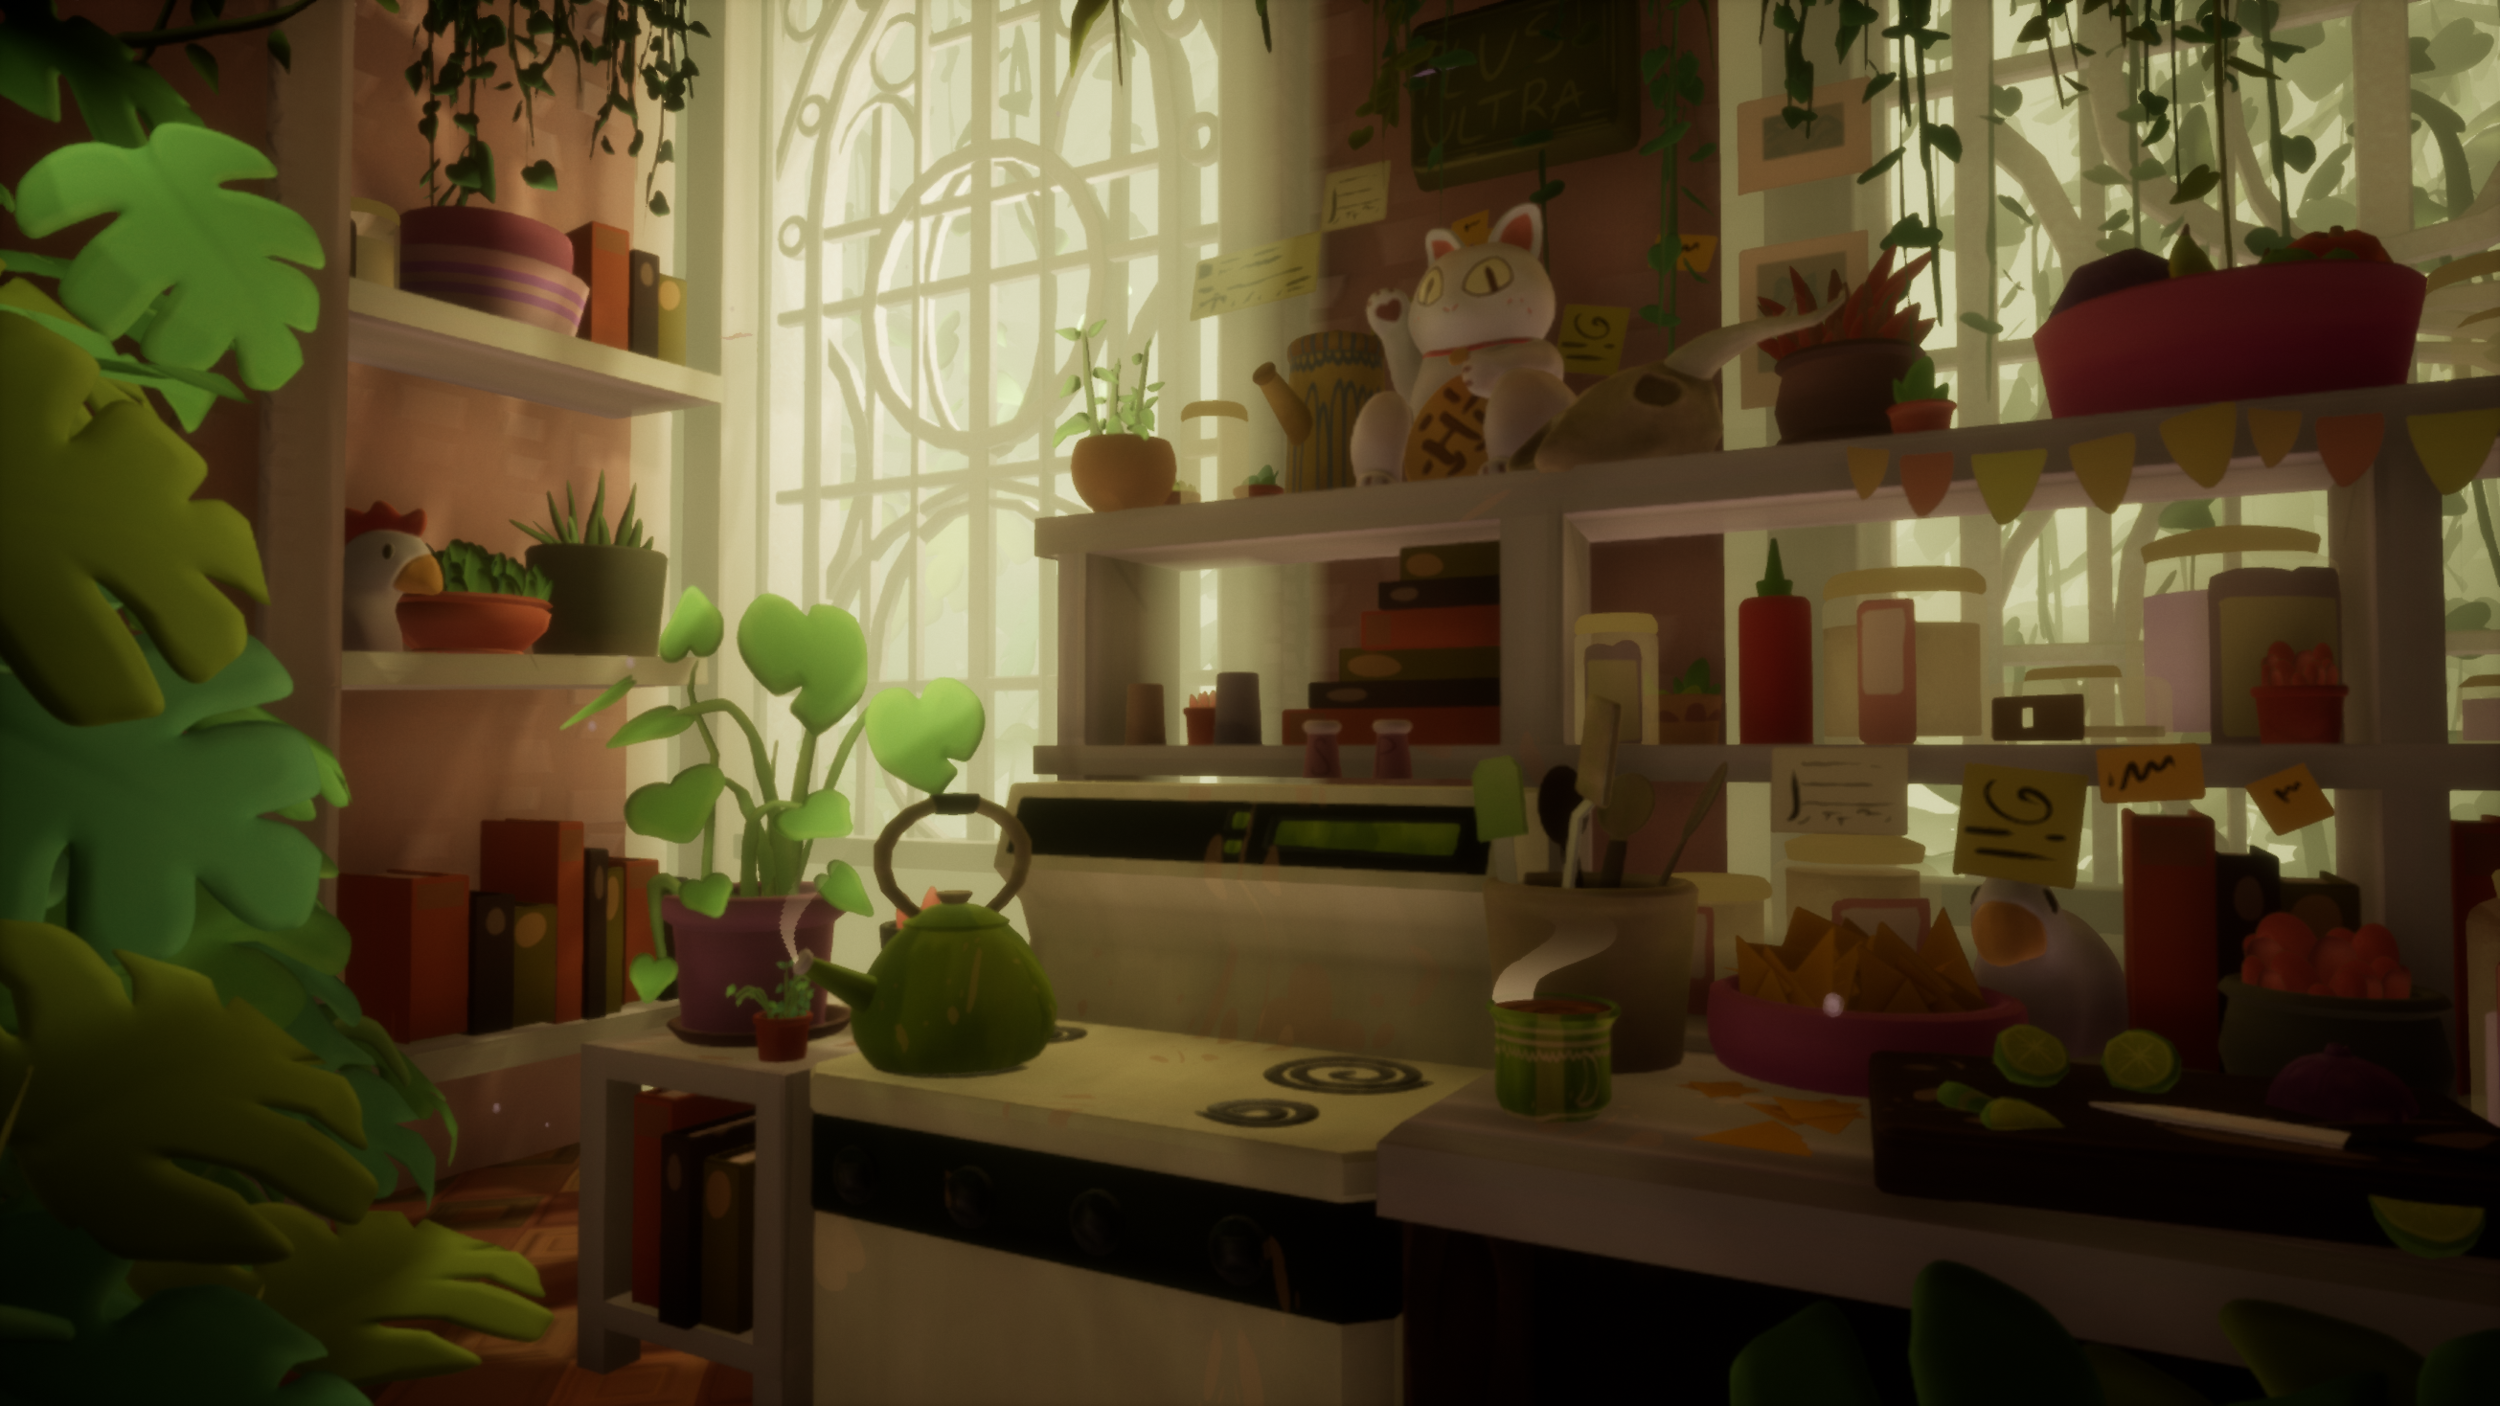
After going through all the great resources for inspiration on the internet, I came across Nicholas Kennedy on Artstation and instantly fell in love with his work. I soon came across this piece on his site called “Dream Kitchen” and I wanted to go and hangout there so badly. It had everything I wanted to focus on in this project and I felt immediately impulsed to start creating it.

Once having a concept down I typically will find other art pieces from the artist to have a better understanding of how they create their scenes. I also take this moment to take the concept and start cropping /grouping parts of a scene to have it feel much more manageable. This also just gives me a good point of reference if I feel like I’m missing something and keeps me focused.


Blocking Out
With any blockout I try to make sure I focus on the most primitive shapes that make up the scene. I think something I really wanted to focus on right away were the windows, especially since they’re ornate and constructed of individual pieces. Having the motivation and determination to get the window done really helped just having me feel more comfortable / confident early on. Everything else was made with the primitive shapes and slowly refined it as needed moving forward.
I also had a pretty large focus on getting the blockout to do the job of giving me a point to be comfortable with getting the couple of meshes in zbrush done.

Then going back and forth in between Unreal and Maya to start seeing how everything was feeling living together.
Unreal - Already??
I find that when I get into the engine sooner rather than later, I am able to focus on creating the environment in between the early stages rather than waiting until I was already done texturing it way down the pipeline. This also helps me keep mindful of what camera angles I may need or want and how the environment is feeling in the scene.

Personally, I think the sooner you're able to start setting up your scene in the engine, the better. If you have done even one project through a game art pipeline and ended up in Unreal Engine, you may have noticed that not everything looks the same in every program.
Be mindful of this, and make sure you’re allocating time to make the refinements / post process needed in unreal. I feel like quite a few people, including myself at times, do not include time management for the project.
While I'm here I decide to just start getting my organization / set up with my files in the engine. Just setting up my files so when I begin to start having more assets for the project I can just place it in what folder it needs to be and everything is nested together!
High Poly - Zbrush Time!
Over the time from when I started learning 3D until now, it is like night and day with how I feel about Zbrush. I remember getting into the program and just feeling so dang frustrated with the interface, everything felt blobby, and just made everything worse. But now with understanding the tool-set and program in general more, allows me to feel much more confident with creating models in Zbrush.

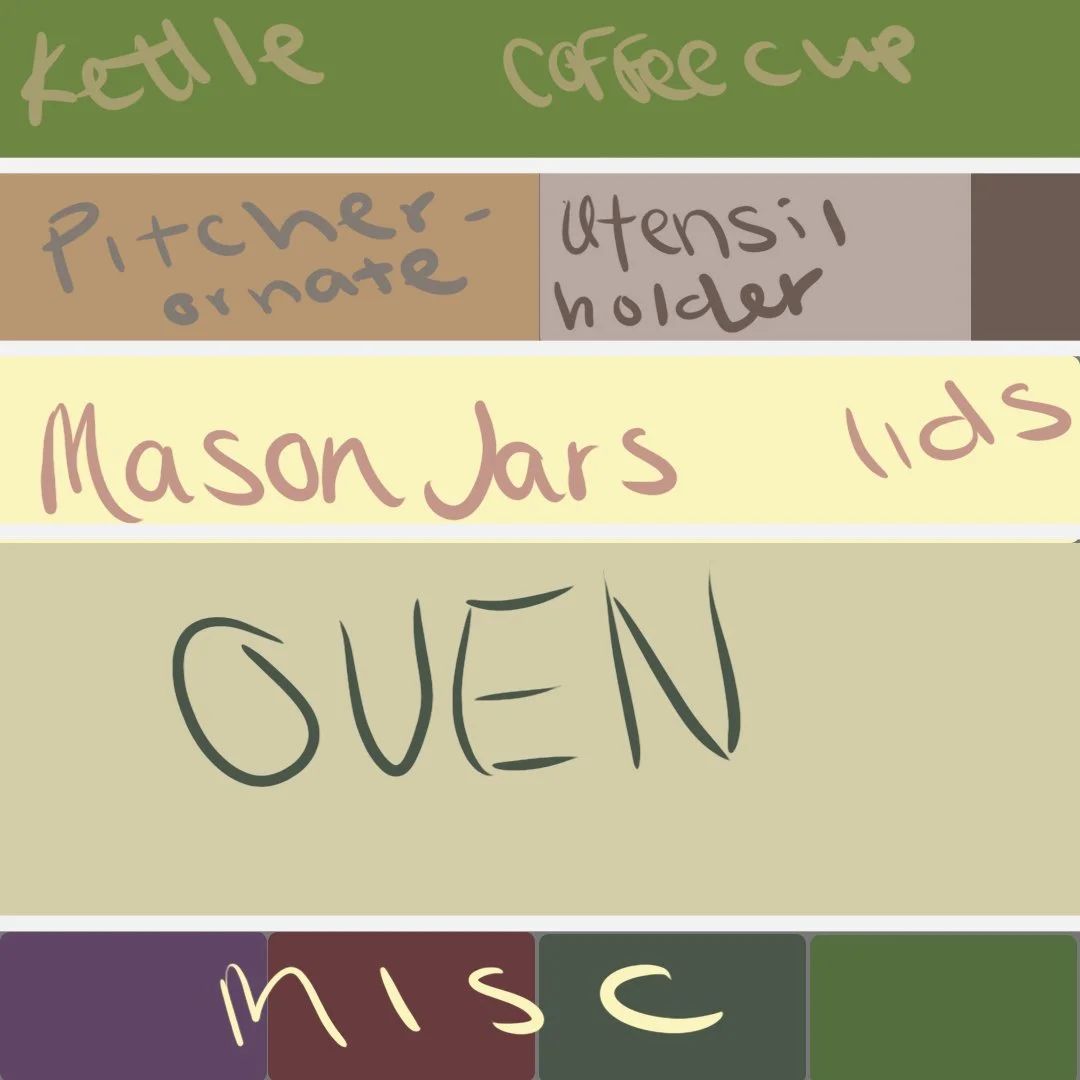
Since I knew I didn’t want to take every model into Zbrush and wasn’t sure what exactly I wanted to create a high poly version of, I did the best thing and made a list.
High Poly Models
Most of my Zbrush meshes were really just created from either the zspheres or Shadowbox method in the program.
From there pretty much going into the transpose tool as well as the deformation tab on the right side of Zbrush to make adjustments, give tapers, and give depth to the overall model.

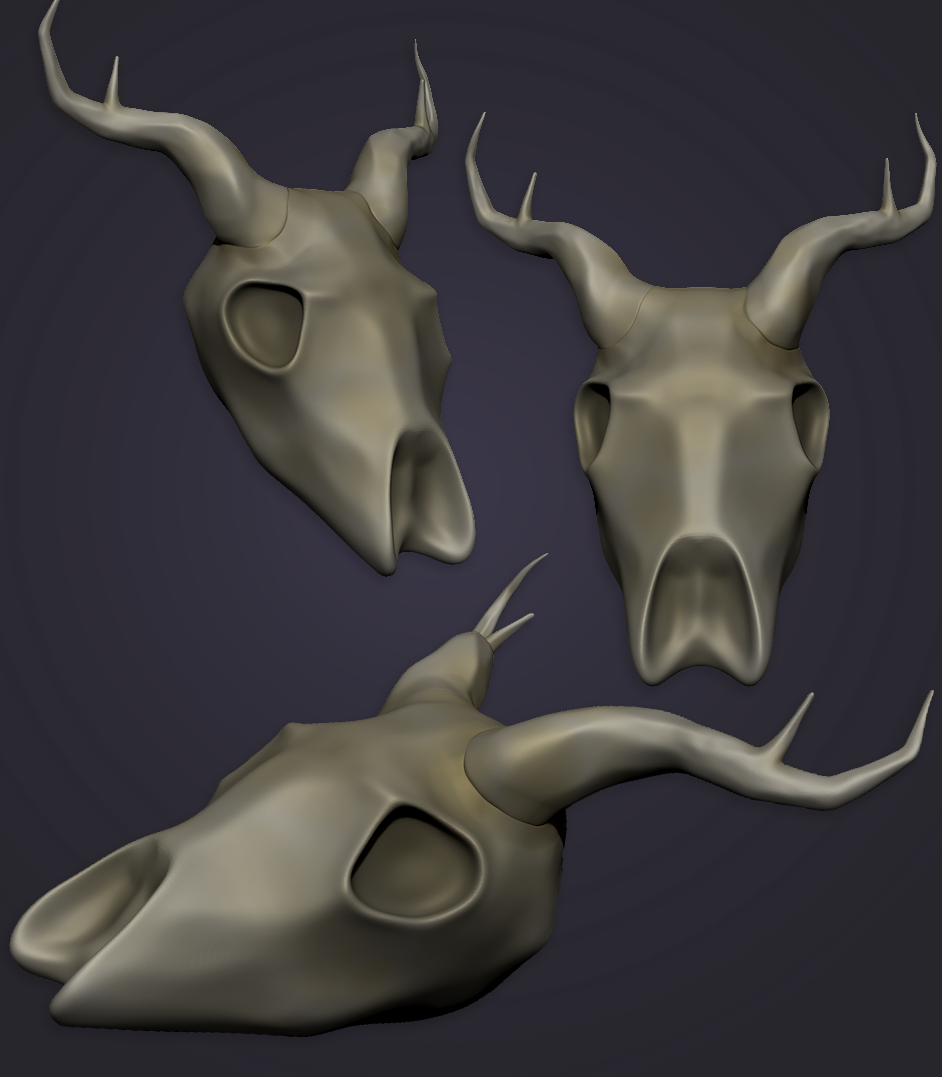

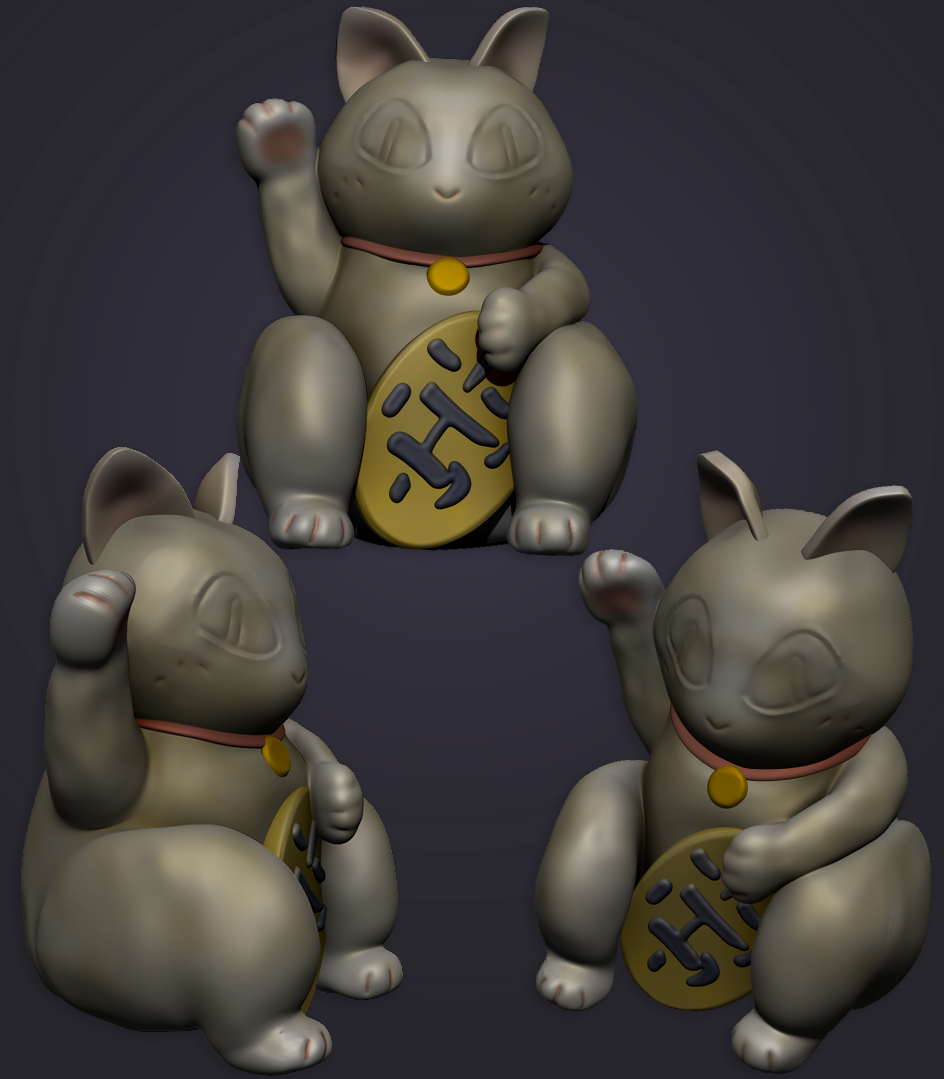

There weren't too many things where I felt that I needed to create extra details on. Or felt that I needed to bring into Zbrush. But there were a couple of meshes I wasn’t sure about starting with getting the base shapes / silhouette in Maya. Whenever I’m feeling like I’m hitting a wall a bit with getting something going, I typically will start the model off in Zbrush (or I also will take it in Photoshop and do a lil paint over, whichever works best for your brain).
Down below is quite a longer gif of some progress I was getting with the shadowbox tool in ZBrush. But I figured it could be resourceful for anyone to see what my thought process is!
Doing the intial planning of the project was really helpful in this case. It had me considering what I could get away with mirroring models and then making slight adjustments from there rather than starting both sides of a model completely from scratch. I’m always considering ways to “working smarter not harder” especially with anyway that can decrease the amount of time in a process.
Whatever it is, the way you tell your story online can make all the difference.
Trimsheet
I love making trimsheets and getting some extra details in Zbrush with it!
For the most part with all of my trim sheets and texture atlases they were created in Photoshop, but the trimsheet in the top left with the stove top misc pieces on the bottom was the only one created in Zbrush. I still wanted to showcase the work and show how the difference of the texture in Zbrush compares to something I created in Photoshop.
I believe the trimsheet that was sculpted I was able to get a bit more depth and detail into. Being mindful of tapering and softening up the edges to really get the feel of the material I was portraying.


The trimsheet that was created in ZBrush and was actually the first to be made. I wanted to specifically focus on this one because it made most of the scene up and I thought I could potentially need the most refinement with what needed to be done.

Cheers to Finn’s breakdown of trim sheets on Artstation! Really informative on the way she does her UVs for trim sheets. I strongly encourage to looking into this article, as well as utilizing this technique! It’s perfect for vertex painting, optimizing a scene, and you’ll just want to make UVs for trim sheets after getting comfortable with the concept.
Foliage
Something I always struggled with was this part of the workflow. Just getting more organic and flabby bits modeled and sculpted was always something I struggled with. I have a much more comfortable spot for my art with hard surfacing. So it was nice to start “branching” more into foliage with this project.
I typically like creating my high poly foliage in Zbrush just because I’m much more confident in how the shapes and everything turn out vs creating my foliage in photoshop. I think I have a more stylized feel when I do create foliage in Photoshop, but I really feel like I can get so much depth and dimension with zbrush.


The foliage seemed a bit daunting at first, but once I started to break it down and saw kinda what shapes I thought I needed it became a lot less intimidating.
The shadowbox tool in Zbrush was the right-hand man starting the foliage. Just getting the base silhouette shape in for the foliage gave the footing to feel confident enough to start going through and doing this for every foliage piece.

After getting the base shape of the foliage done I typically go in with deformers to use inflate, and taper. I haven’t been too familiar with deformers prior to this so I’m really just getting an understanding of how they work and when I can utilize them.
Refinement / Prep

For the most part I just focus on going through all of the models and breaking down what pieces I want to use as a “parent” piece. Then really take any adjustments I need to have to have it be optimized for the game, ensuring polycount is where I’d like it to be, adjusting hard edges. Really just taking the models a bit further and doing some clean up while I’m at it.
Quick list / to do’s I focus on when I go through and refine models:
Assign materials
Organize / update naming conventions
Adjust pivot point - I typically am exporting for Unreal Engine
I know it seems like quite a lengthy list, but slowly getting into the habit of these will really showcase in the end of the project. Also setting up these steps just saves you time later down the road!
Baking & Texturing
Something I know I should have spent more time and effort on with the retopo phase and UV phase of this project.
The base process that I typically go through during the retop phase is, I typically will decimate / Zremesh as low as I can then take that model into Maya and use it as a midpoly. From there I go through and lower the poly count even more, and if the geometry is a bit too wonky to go through and clean up, I will just go through with the Quad Draw tool to make a low poly version.

There weren't too many things needed to be baked, but the few things that did…
Were really worth the extra bit of time.
The biggest things to remember for baking…
NAMING CONVENTIONS!! This is such a huge thing & can save so many headaches
soften & harden your edges!!!! this can make a huge difference with how a mesh bakes
Make sure that you DO NOT have overlapping UVs and have them as straight as you can!
The steps I typically take for texturing:
First thing first, try to break down the texture of whatever you’re trying to recreate
Consider how a material is composed together
Using layers to build up the material
Substance Designer

One of my favorite programs I’m becoming more and more fond of. I have been learning Substance Designer on my own for less than a year or so. So, something I like to do to keep up with learning more and use the program for 1-2 materials for each project if I can.

I didn’t want to make anything too complicated or too busy for the materials I created. I really just wanted something in place for the floor since the concept didn’t have any images with the floor in it. And honestly I didn’t want to avoid taking certain renders because of the floor being absent. I wanted something that still fit the vibe of this dreamy kitchen, so I went to Pinterest and started looking up cottage core aesthetics and kept to the color palette of the scene.
The other texture I decided a bit late in the project, was a brick texture. I really only decided to make this texture because I thought it would be more interesting for the scene to have the walls broken up a bit.
The method I used to break up the texture on the walls was vertex painting in Unreal Engine. This is pretty much just taking two different textures and painting / blending them together. I will be touching base more about vertex painting a bit further in the article.


UE4 - Building the Scene
Getting everything in the scene from Maya was one feat, getting it to feel more completed is a whole other feat.
I always find myself in a weird process when getting everything more refined in an unreal engine. I say this because I’m at a point where I typically start compiling everything I have created for the scene thus far and start taking as many notes as I can either in an IRL notebook, or in my Miro page about adjustments / create lists of “to-dos”.
Especially if it turns out to be an unexpected to-do item like forgetting to soften / harden specific edges, quickly jotting it down and making note of it is so much more helpful than trying to remember it later on.
The biggest priority I focus on with really getting the scene built is just including everything I know I want there. For example, including skybox, post process, sphere reflection captures, things that * I know * I will need it in the scene.
A lot of the times in unreal with this phase I typically add more than I need to get a certain look than adjusting the current settings / volumes I have in the scene.
Make your own skybox!
Did you know you could paint / create your own skybox material and use it in unreal?

Sunset Skybox Texture
Enter link / tutorial for creating own skybox
It can really bring a lot of personality to your scene to create your own skybox! You just need your preferred drawing program. I started with a format of 2048x1024 here, and exported the JPG or PNG out. All I did here was gather up some sunset photo references and look up different types of clouds. Really just giving myself an idea of what I want to create and what makes sense. I put a gradient on the background and started painting in some clouds! I used a white base color then went in with purple / cooler shadows and a warmer / yellow tone for the highlights! Really just using the gradient for the colors of shadow and highlights of the clouds.
Decals
Unreal Engine allows you to create decals in a scene. Using these you can create a lot more narrative or dynamic scenes that can elevate it to another level.

How you move and scale your decal will affect how it is affecting your scene.
Just wanted to showcase what the textures that the material is attached to is composed of! I had already created the texture atlas sheet with all of these decals on and just needed to break them up to their own texture. Really don’t need anything too crazy and you can really go in and add as much detail as you would like! I typically make decals low in detail just so it doesn’t pull away or cause distractions from the other pieces of the scene.


There were quite a few tutorials I followed to help refresh how to set up the material up within Unreal Engine.
I played with edge decals in Unreal Engine for the first time within this project! I never knew this workflow prior to this project, and I thought there could be a nice break up from the edges.
Particles
Something I always felt that really brings the scene together is particle effects / FX.
I have never made anything like this in an engine before. I would have to say this is one of the more unfamiliar effects I’ve made only because of using the curve editor in the parameters of the particle effects. Using the curve editor to really only fake the wings actually flapping on the butterfly.
Also taking a completely different direction with the steam about halfway through the production of this project was for the best. I first started off with using the steam from the kettle and coffee cup being made from particles and a material / alpha with a panner node in the material which I switched from that into Niagara in UE4. I have used this prior for a couple of studies but haven’t used this system in any of my more recent projects.


One of my favorite aspects about creating FX in Unreal Engine is that you don’t need to be a talented illustrator to be able to create amazing effects. I feel like I have heard quite a few folks make comments similar to these before and I really want to reassure that it can be basic shapes / gradients that do most of the work for you.

Some FX effects can really push a narrative of a scene! Even the subtle steam from the coffee moving around, or the steam coming off of the kettle, it all conveys a narrative being pushed. Always feel free to explore and try new things with particles! You can create an entirely new feeling to a scene by the particles that are created / used.
DEPTH FADE!
I’ve used this method quite a few times before this project, but I explored a bit more with the fade opacity, distance, and color. I was able to learn that you can create a gradient in between two colors, have the depth fade be smoother and less dense as the higher values are inputted into the node.

Here’s some photos just breaking down some of the settings you can adjust in the material blueprint of the depthfade.
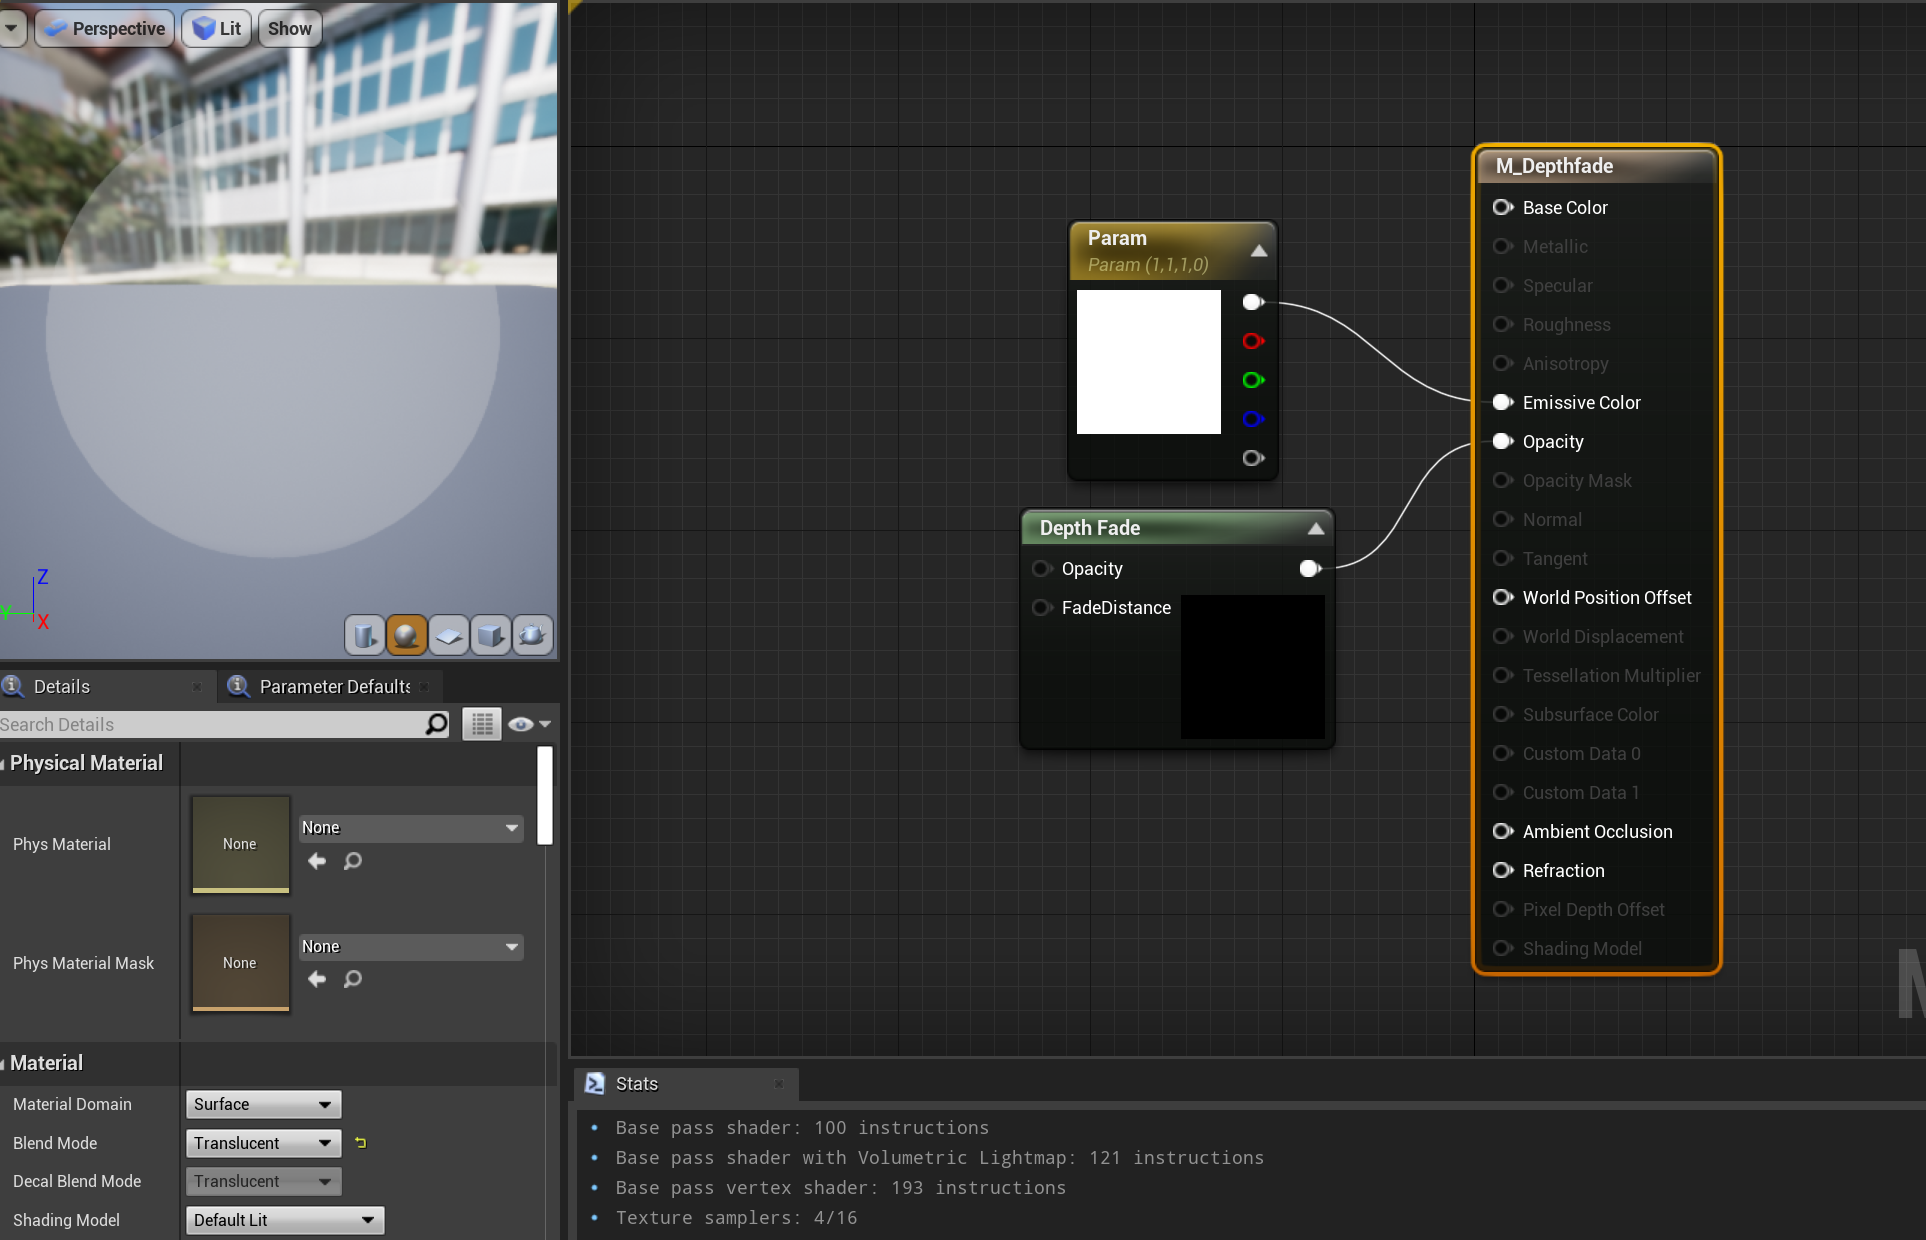

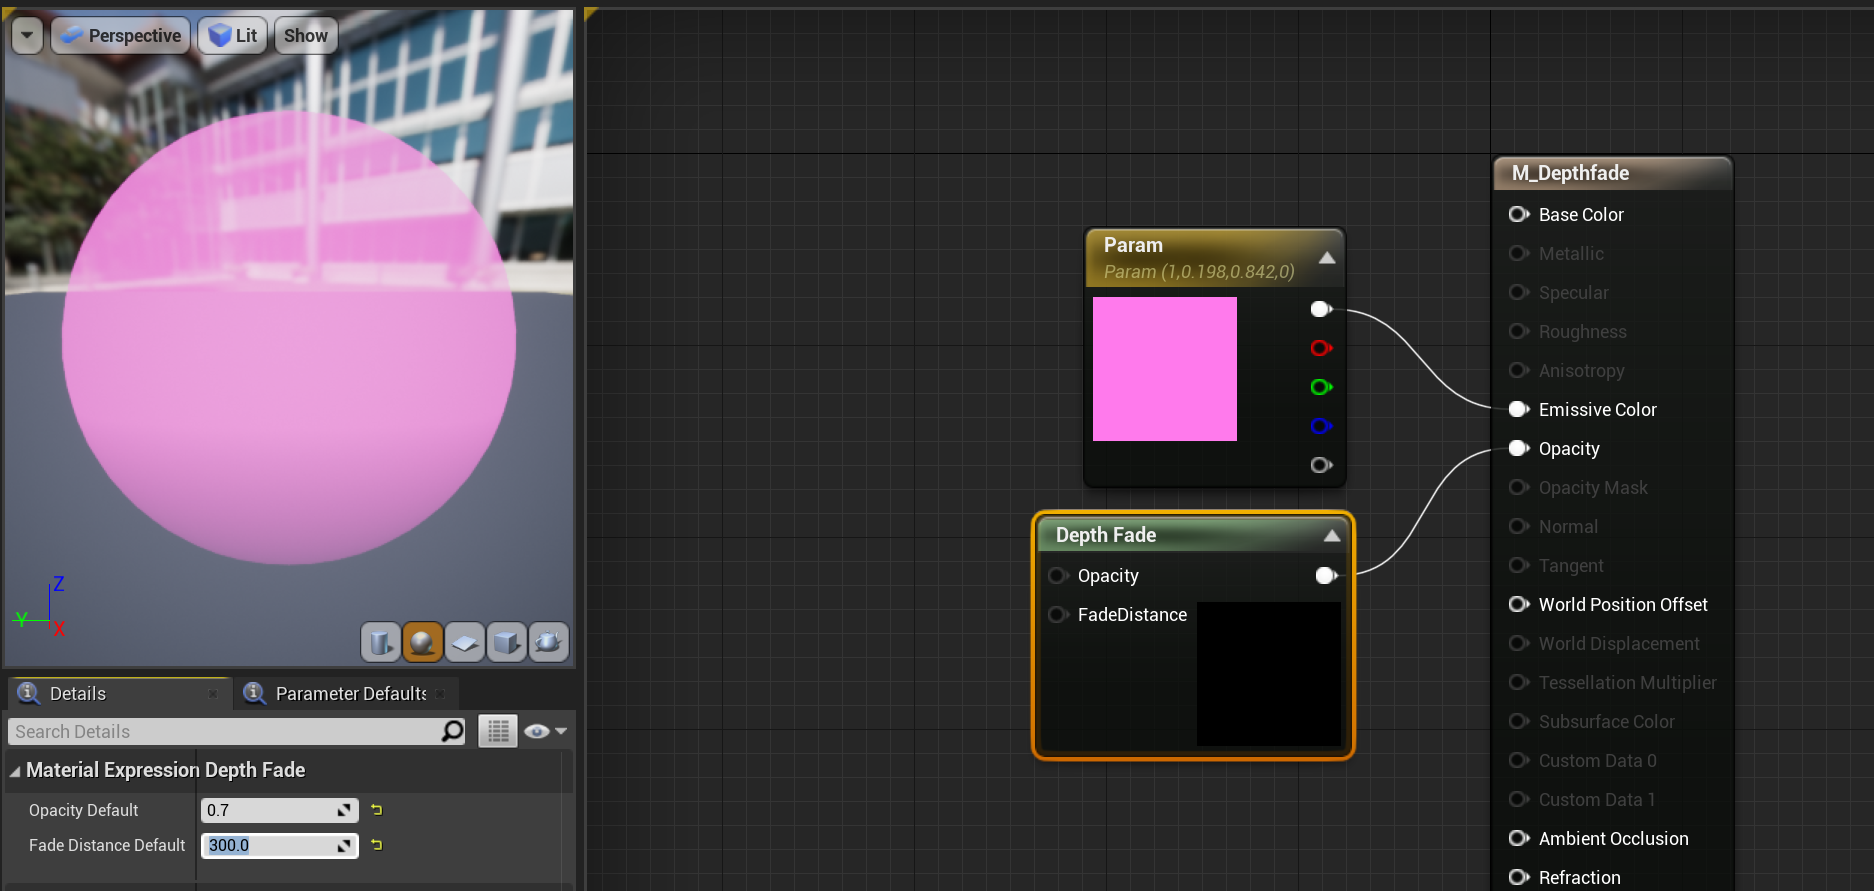
First thing to do in the material blueprint is to make sure the blend mode is changed from “Opaque” to “Translucent”. Then be sure to create a color parameter node and a depthfade node.
Vertex Painting
Just a bit of mixing some tiling textures together, who doesn’t love that?

With vertex painting, you can really add quite a bit of detail without doing much work! Just adding a couple of different tiling / trim textures, you’re able to create subtle / intense detail to any scene!
Be sure to remember that vertex painting means you need vertices to paint! For example, if you have a one face plane and just four verts you won’t be able to paint any additional information with vertex painting. You would need to make sure wherever you want to paint you have a vert/geometry!
I typically refer to this tutorial when I need a refresher / reminder. It shows how to set up the material in Unreal Engine and be able to access the tools to vertex paint.
Using vertex painting can be applied through different various meshes! It can be really used for whatever you may need it for. I typically find myself using it between a stone / rock material mixed with either a grass or moss texture. This is just a quick and easy way to break up a texture and really give that extra bit of detail in a scene. You can of course use this technique in other cases; metal & rust, plaster & brick, grim / grunge & ceramic. Be sure to really take advantage of this fun tool in the engine!
Naming Conventions / Organization
I always like to make mention of how things are organized and named in project files.
I think this video from FlippedNormals does a great job just explaining why it’s important to start getting into a good habit of this. Also let’s be honest, even someone who isn’t that organized could easily benefit from being mindful of naming conventions.
Getting into the habit of industry professionals similarly, it makes it another huge step to avoid when integrating into a studio. I tend to have one folder holding the contents of the project with subcategories.
Content Folder
00_Blueprints
01_Textures
02_Materials
03_StaticMeshes
04_Levels
Of course, at the end of the day you should do what is best for you, or what helps you stay motivated / sane through a project, but just be mindful that this is a skillset that can definitely be worked on and improved by anyone! I highly recommend taking a look at the video below if you’re unsure / uncertain about the file structure of your projects! Plus it’s always nice to see how industry professionals suggest / discuss these topics because I personally find it very much underrated.
UE4 - Lighting
Lighting was something I really wanted to nail with this project. Being able to convey a specific feeling to really showcase the emotion through lighting is something I really wanted to focus on and understand more in Unreal Engine.
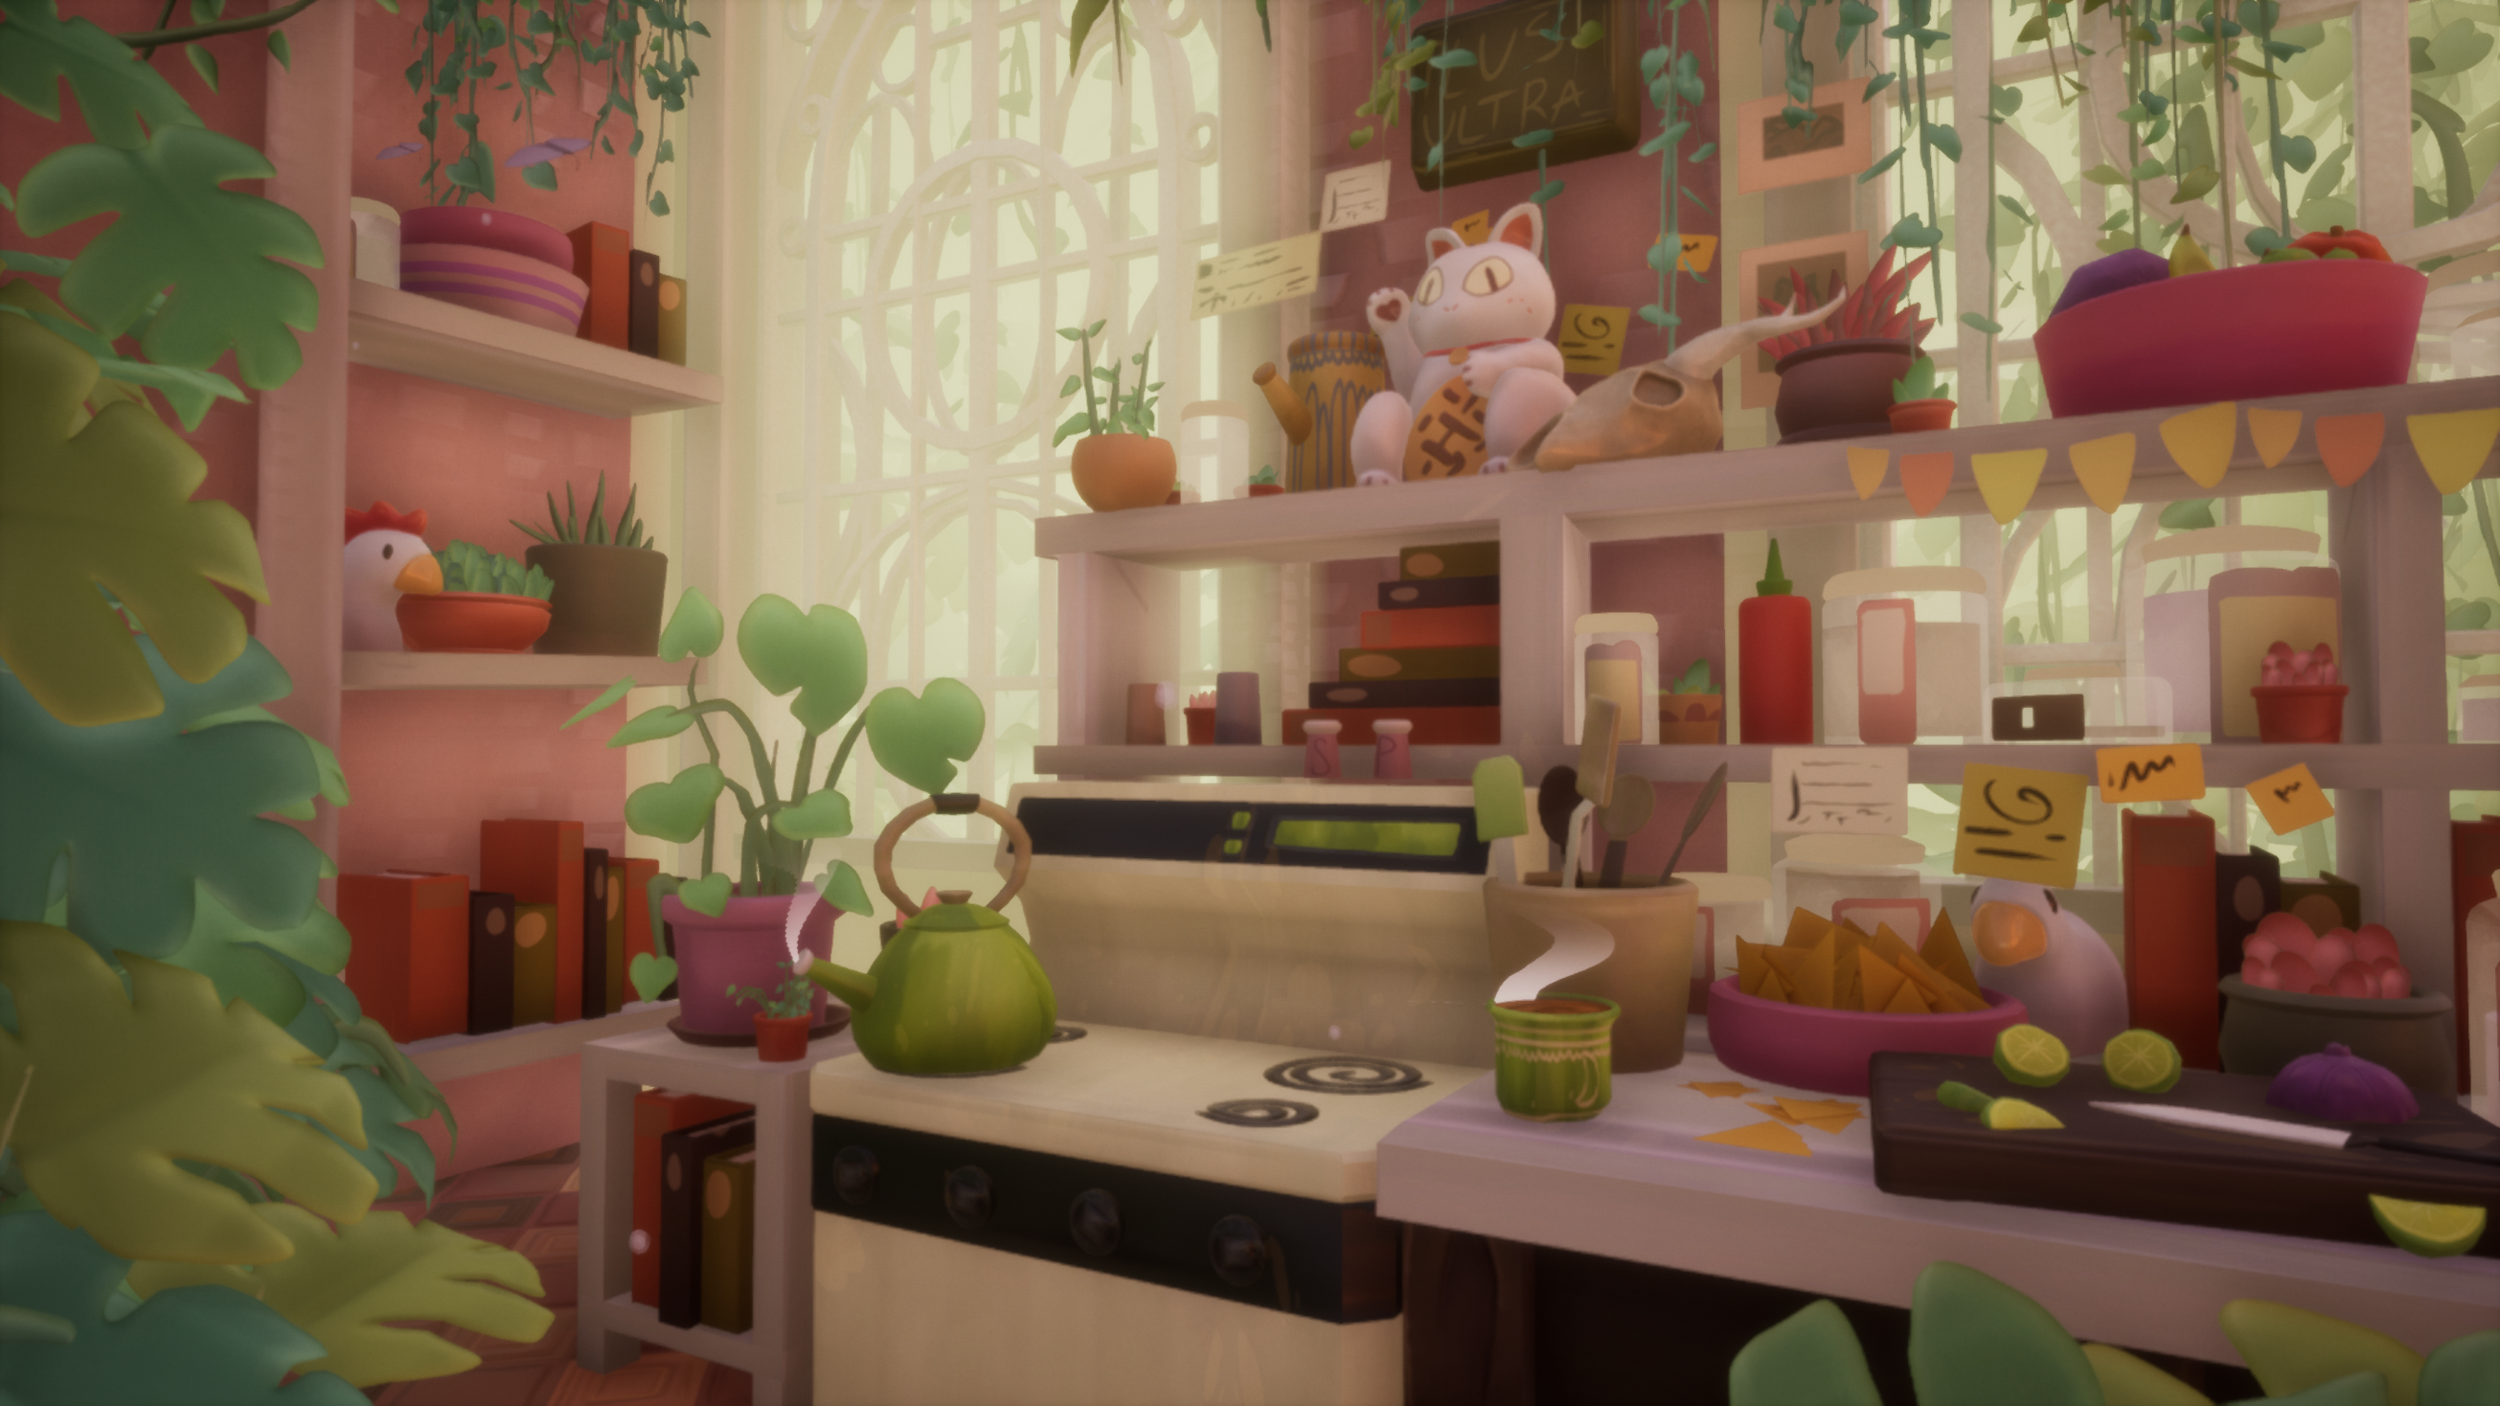
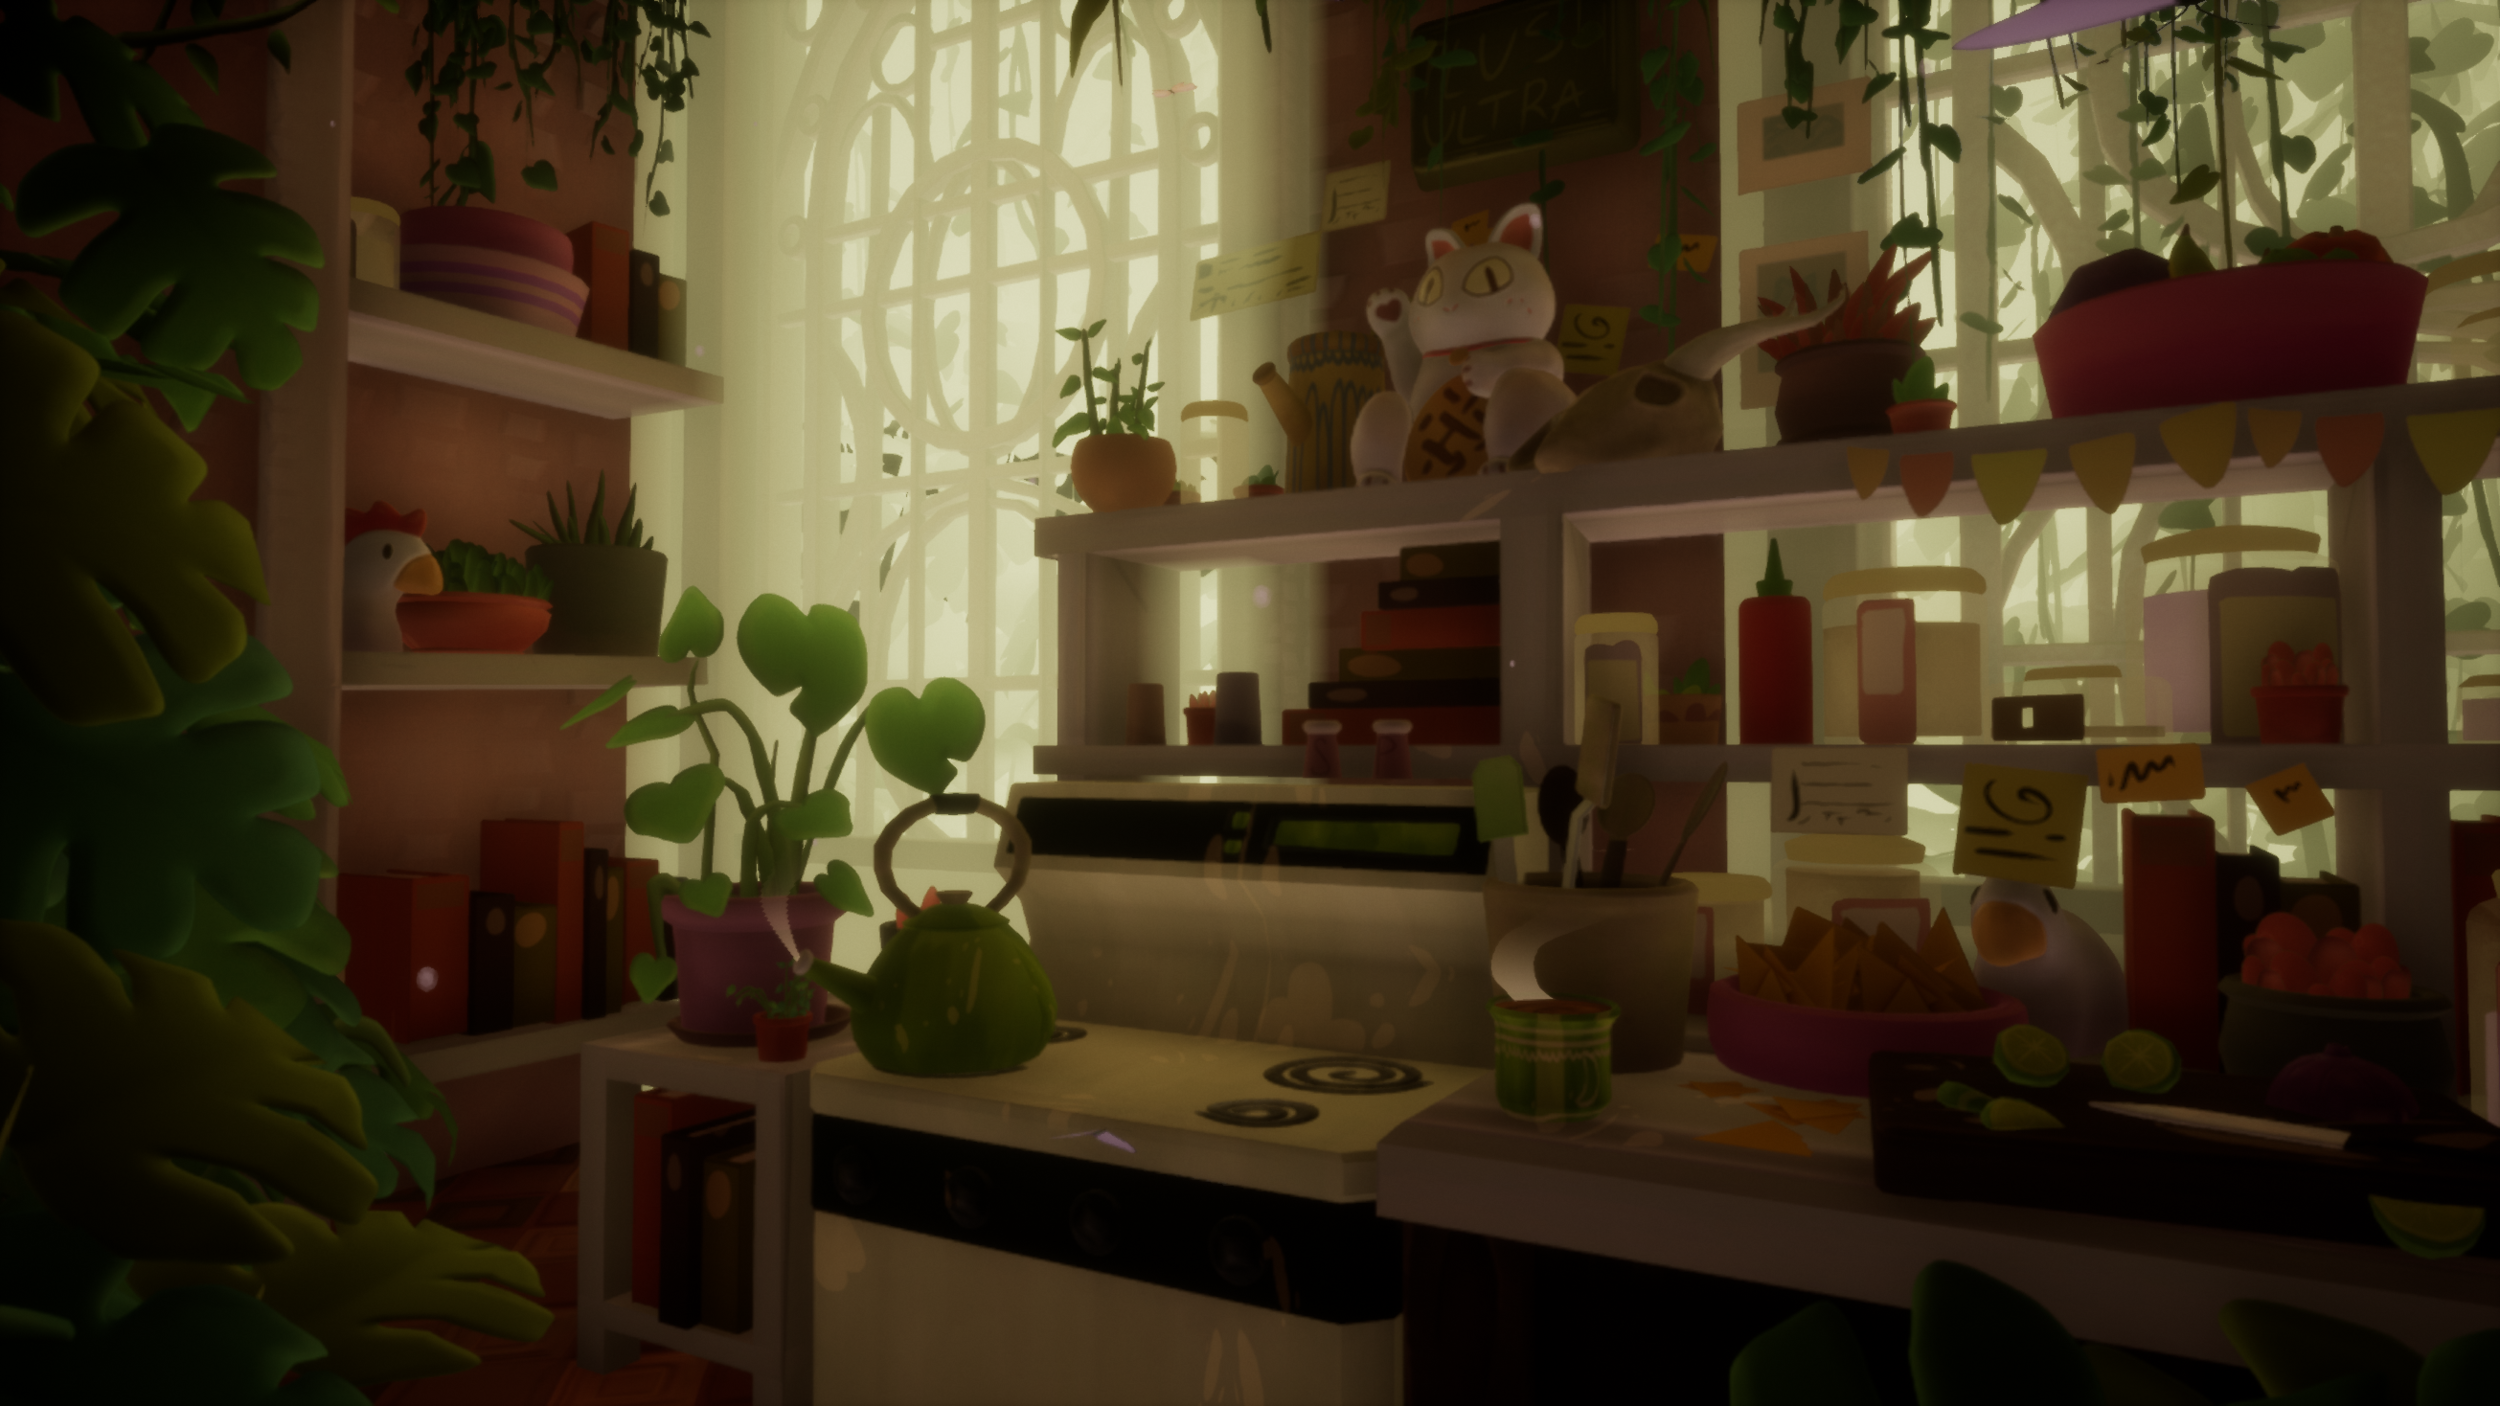
I decided to showcase what the lights were doing in the scene as groups, whole, separate, / individually with the images above. I really don’t have too many lights in the scene, but having the few lights that I do have I wanted to make sure I was intentionally about it being there.
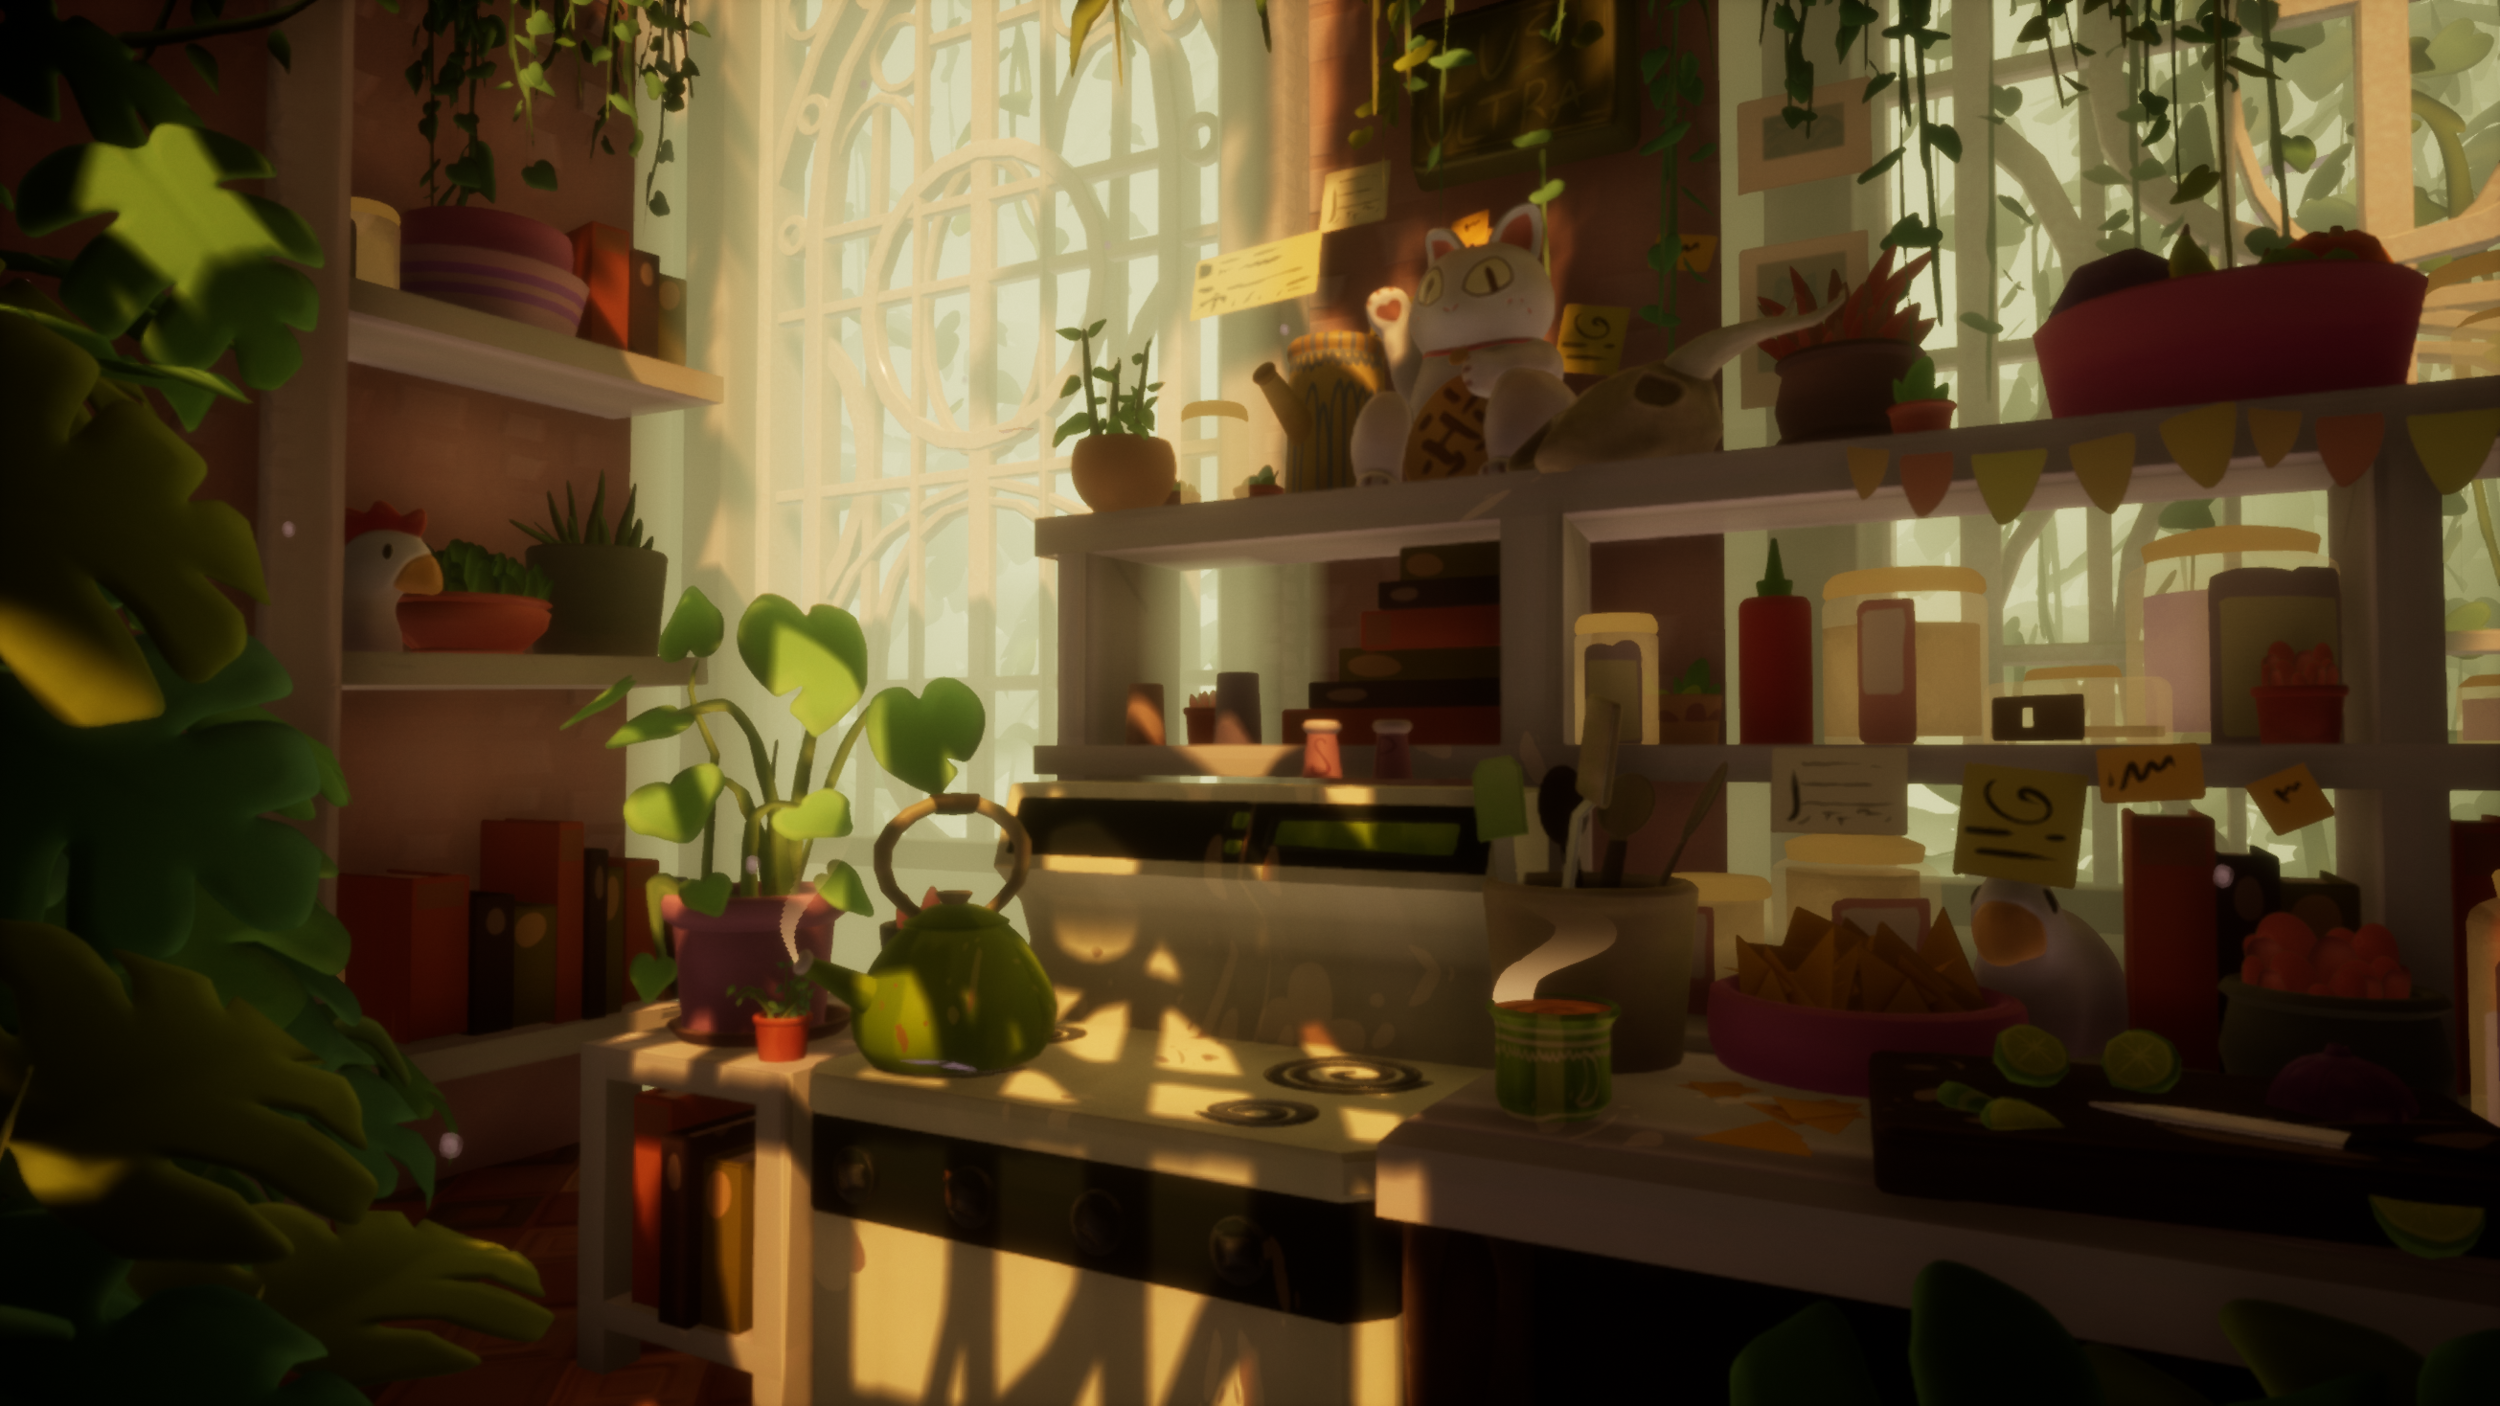
Starting the scene and getting the block out I pretty much got the absolute base lighting in there. Pretty much I always have a base lighting of a sky sphere / BP Sky sphere to get a nice ambient lighting, I typically will also turn off the shadows. Slowly while I was continuing through getting everything compiled and worked together, I tended to slowly start adding more lights to the scene. The next light I really wanted to get correctly and feel right was the god rays coming through the windows.
Using spotlights pointing in from outside in to really help get that feeling of golden hour by adjusting the temperature and intensity.
A big factor that allowed me to really emulate that god way was really just taking a cube, stretching and adjusting the way I need to, reverse the normals, and applying its own material on it. The material setting being set to transparent from opaque and plugging in a color node into emissive / color, and adding a depth fade to really add some dither and soften up the hard lines.
Another video that was really helpful with understanding some of the capabilities in Unreal I could do with lighting was lighting exterior scenes in UE4.
Even if you perhaps feel comfortable / confident in your abilities of lighting and rendering a scene in a program. I still find that it is really helpful to watch others how they work or discuss their processes. It can really show options and tools in programs that you would of never came across.
UE4 - Rendering & Post Process

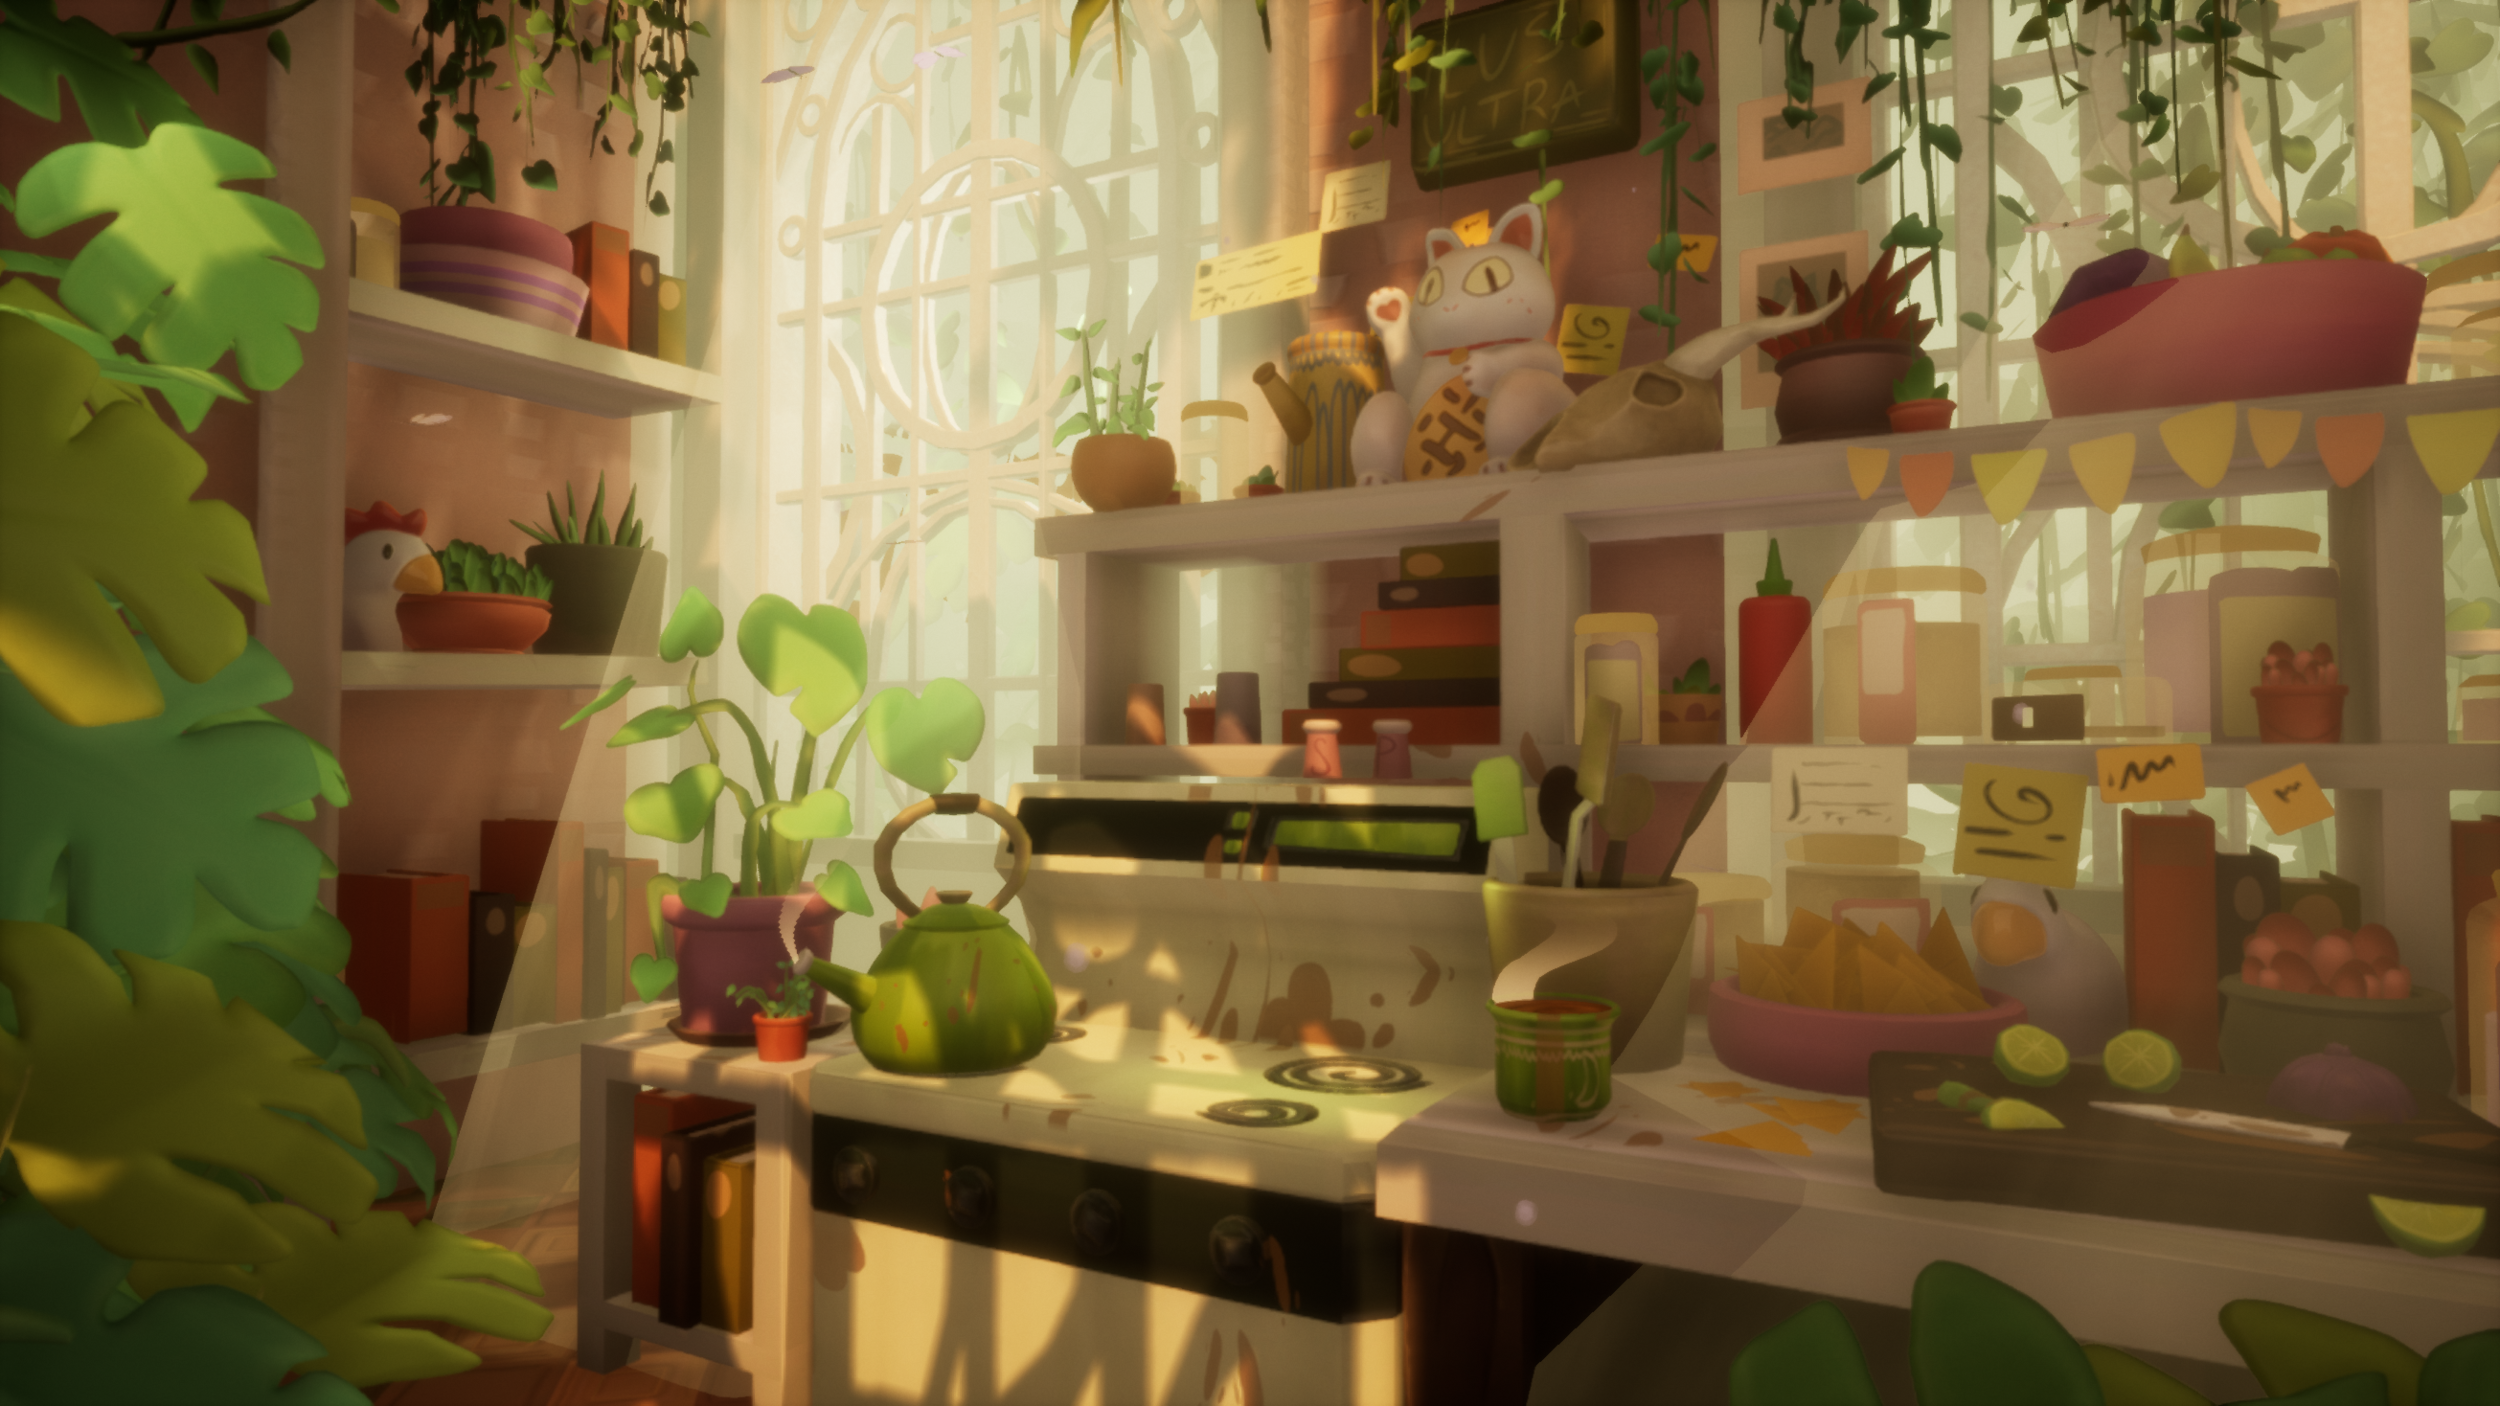
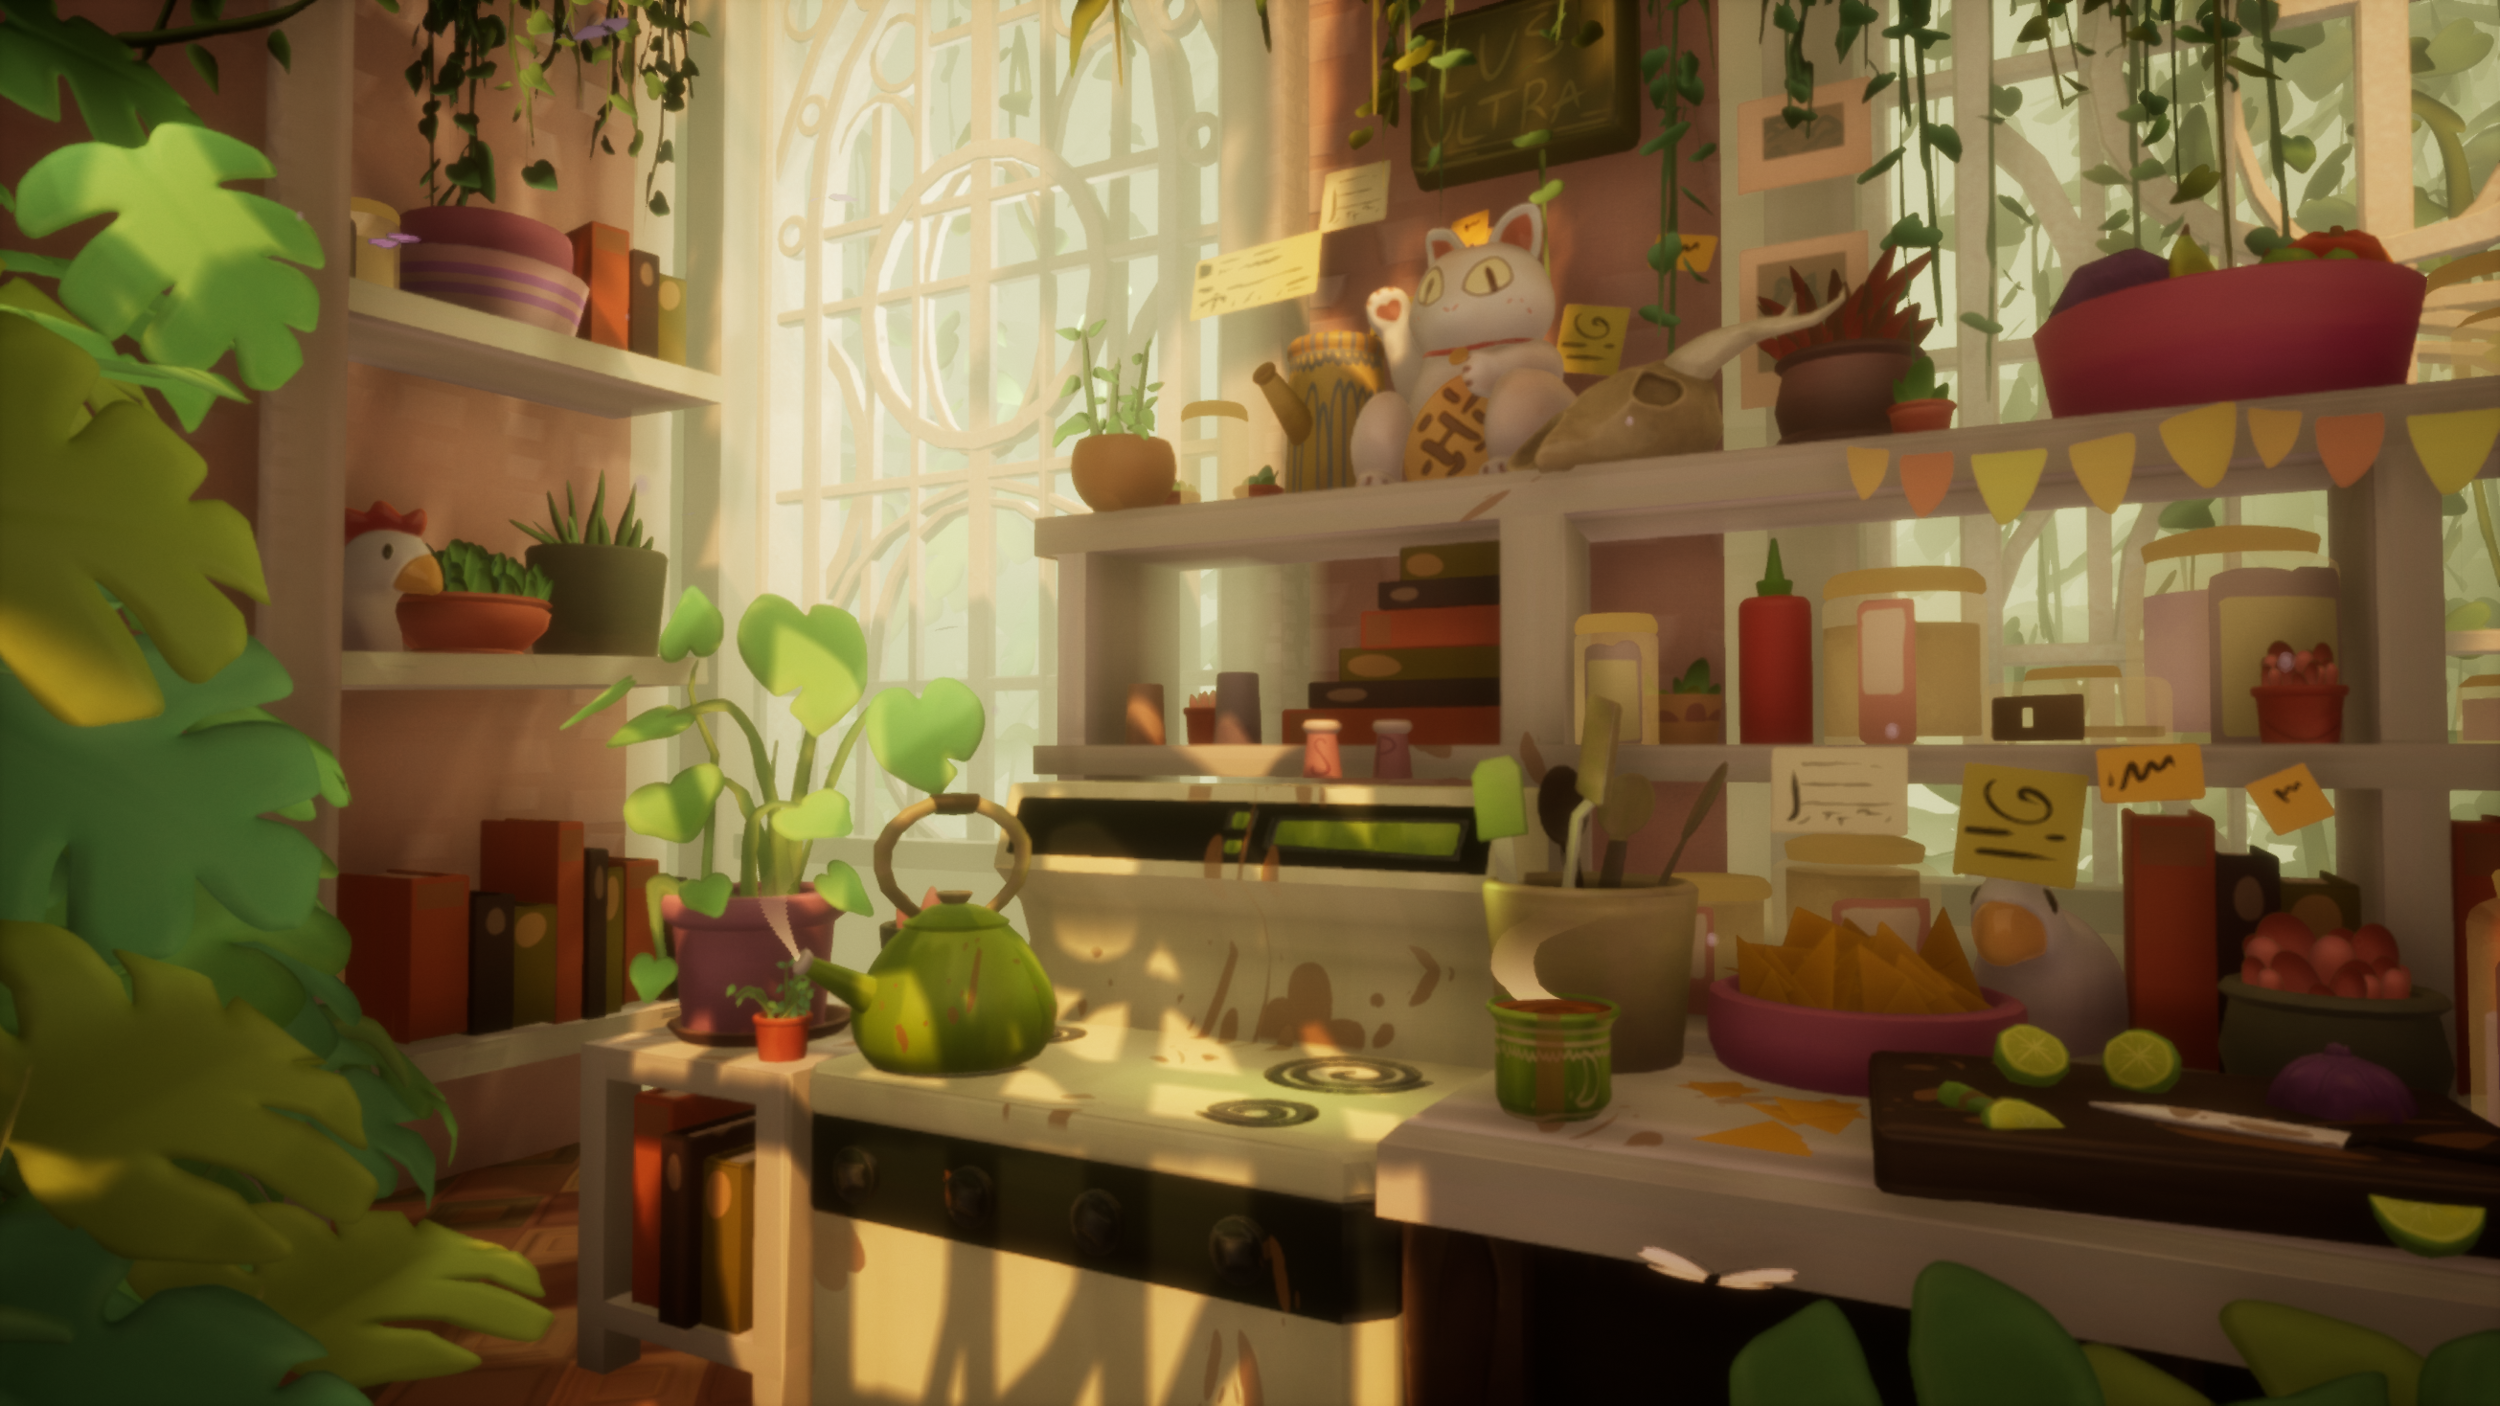
Using post processing volume and other volume effects can really elevate to another level of polish. I tend not to do this until nearing the end of a project just to make sure I’m not relying too heavily on it. I find that it can really make creating additional props or texturing difficult if you already went in there and adjusted color profiles. For this scene I adjusted saturation, temperature of the scene, and added bloom.

For rendering I typically will enable the Movie Render Queue plugin, restart UE4, and set a transform key for whatever camera I am rendering in. I have gone a bit more in depth with previous articles on this subject, so I highly recommend going over and checking the rest out!
If you’re a bit in a hurry, some documentation I tend to reference with post / rendering.
Thoughts & Conclusion
Overall, this project was a learning curve focused on quite a bit of refinement of the knowledge I have gained throughout the years. Really taking everything gathered and utilizing it towards this project. I’m really grateful to be able to learn and grow both in a creative and technical aspect! I feel much more confident moving forward with building an environment with supporting props, pushing a narrative, foliage, and colors.

personal word of advice
Also, something to remember with any project just try to have a bit of fun! It always becomes much more motivating to work on something you can just learn in an engaging way!
Special thanks to everyone that has supported me through this project and helped keep the momentum going for myself! I really wouldn’t be here without all of the support I’ve received from the game dev community & my school colleagues.
